Android: How do I add Picture for QMS Audit Pro Audit Non-Conformance?
When you install an QMS Audit Pro app from Google Play on a device running Android 6.0 and up or on a Chromebook, you control which capabilities or information that QMS Audit Pro app can access—known as permissions.
Make sure QMS Audit Pro has camera permission for your Android phone.
Check to see if Camera permissions have been disabled. To check QMS Audit Pro permissions:
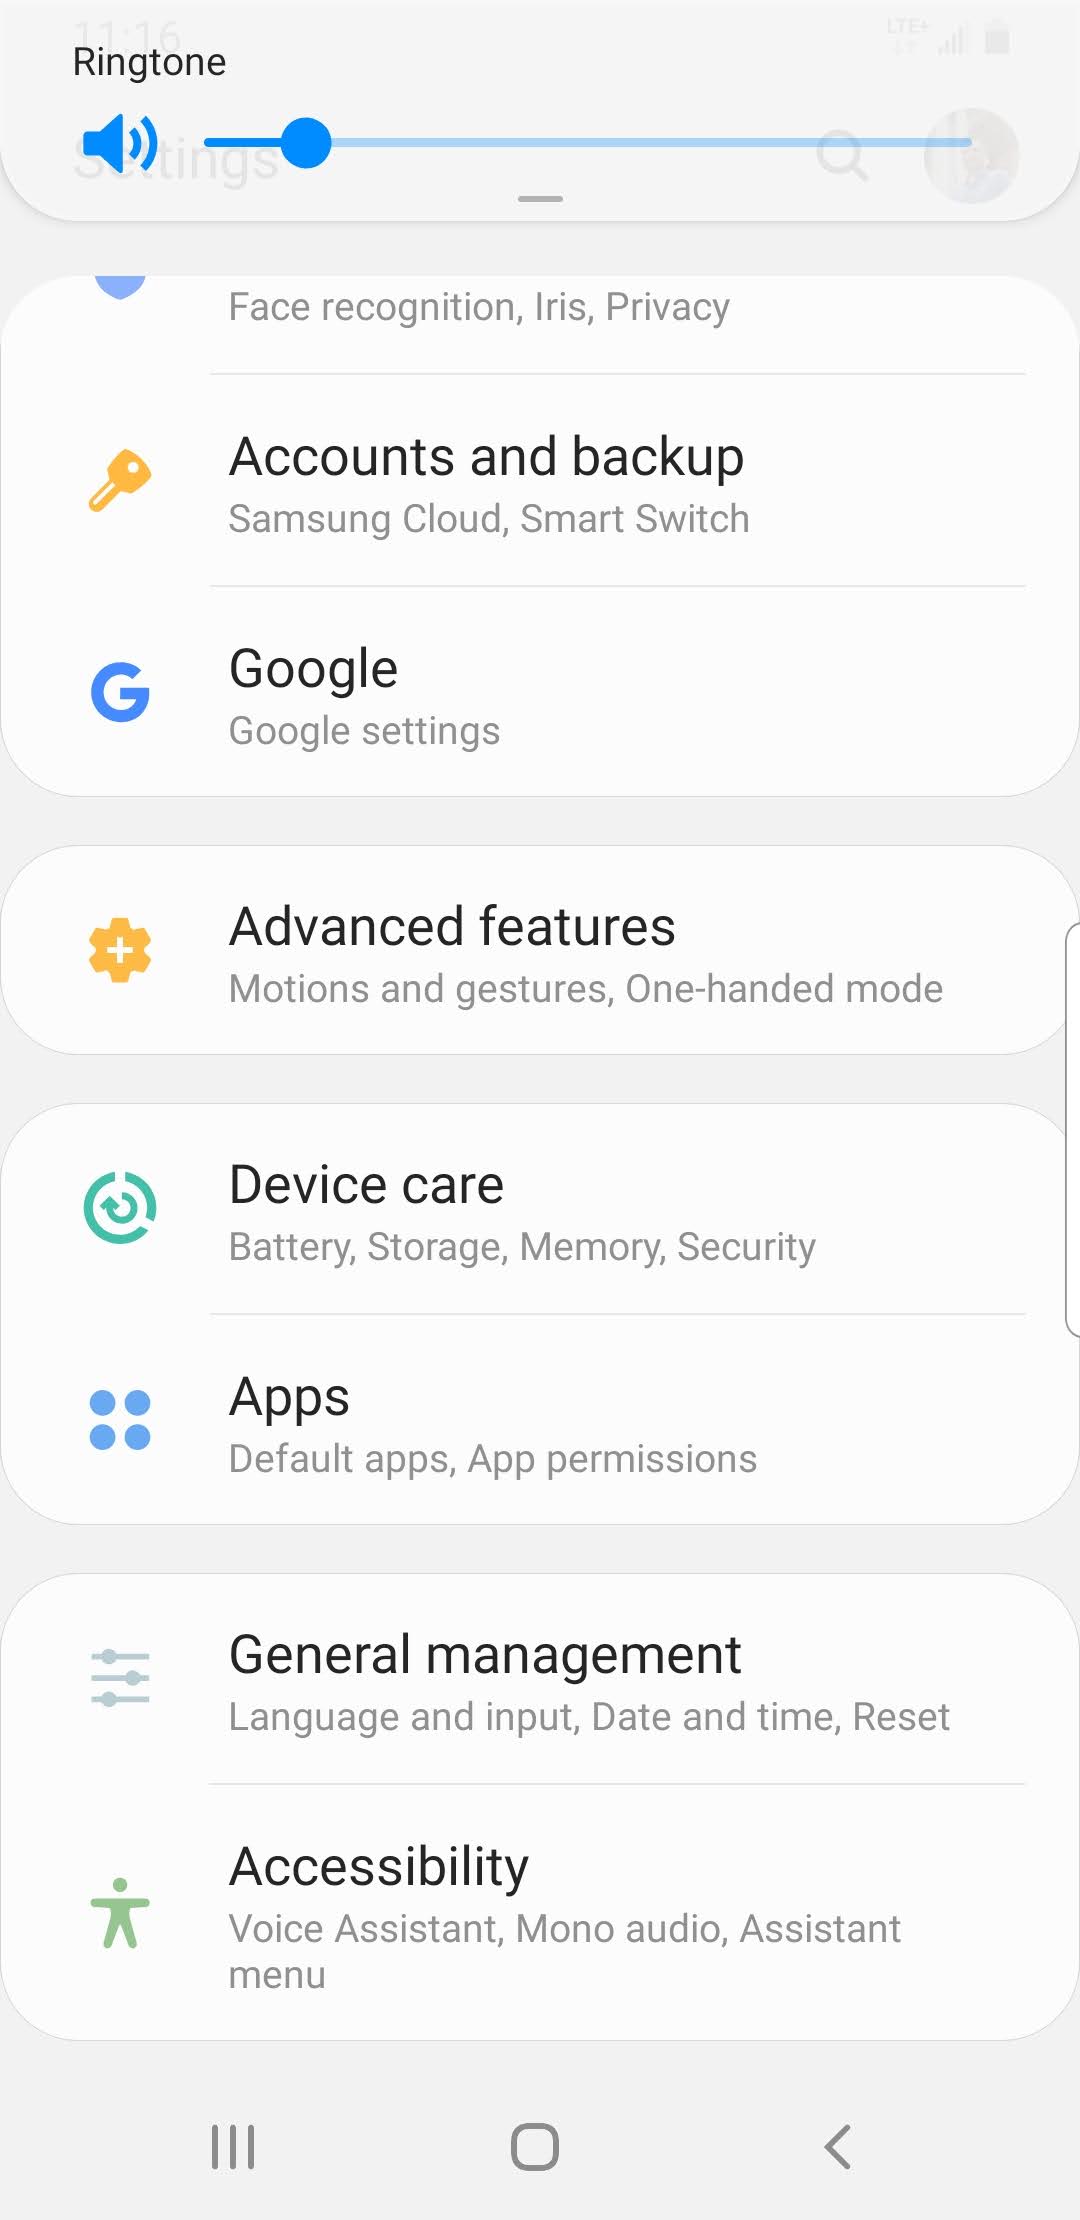
- On your Android device, open the Settings app .
- Tap Apps (or Apps & Notifications).
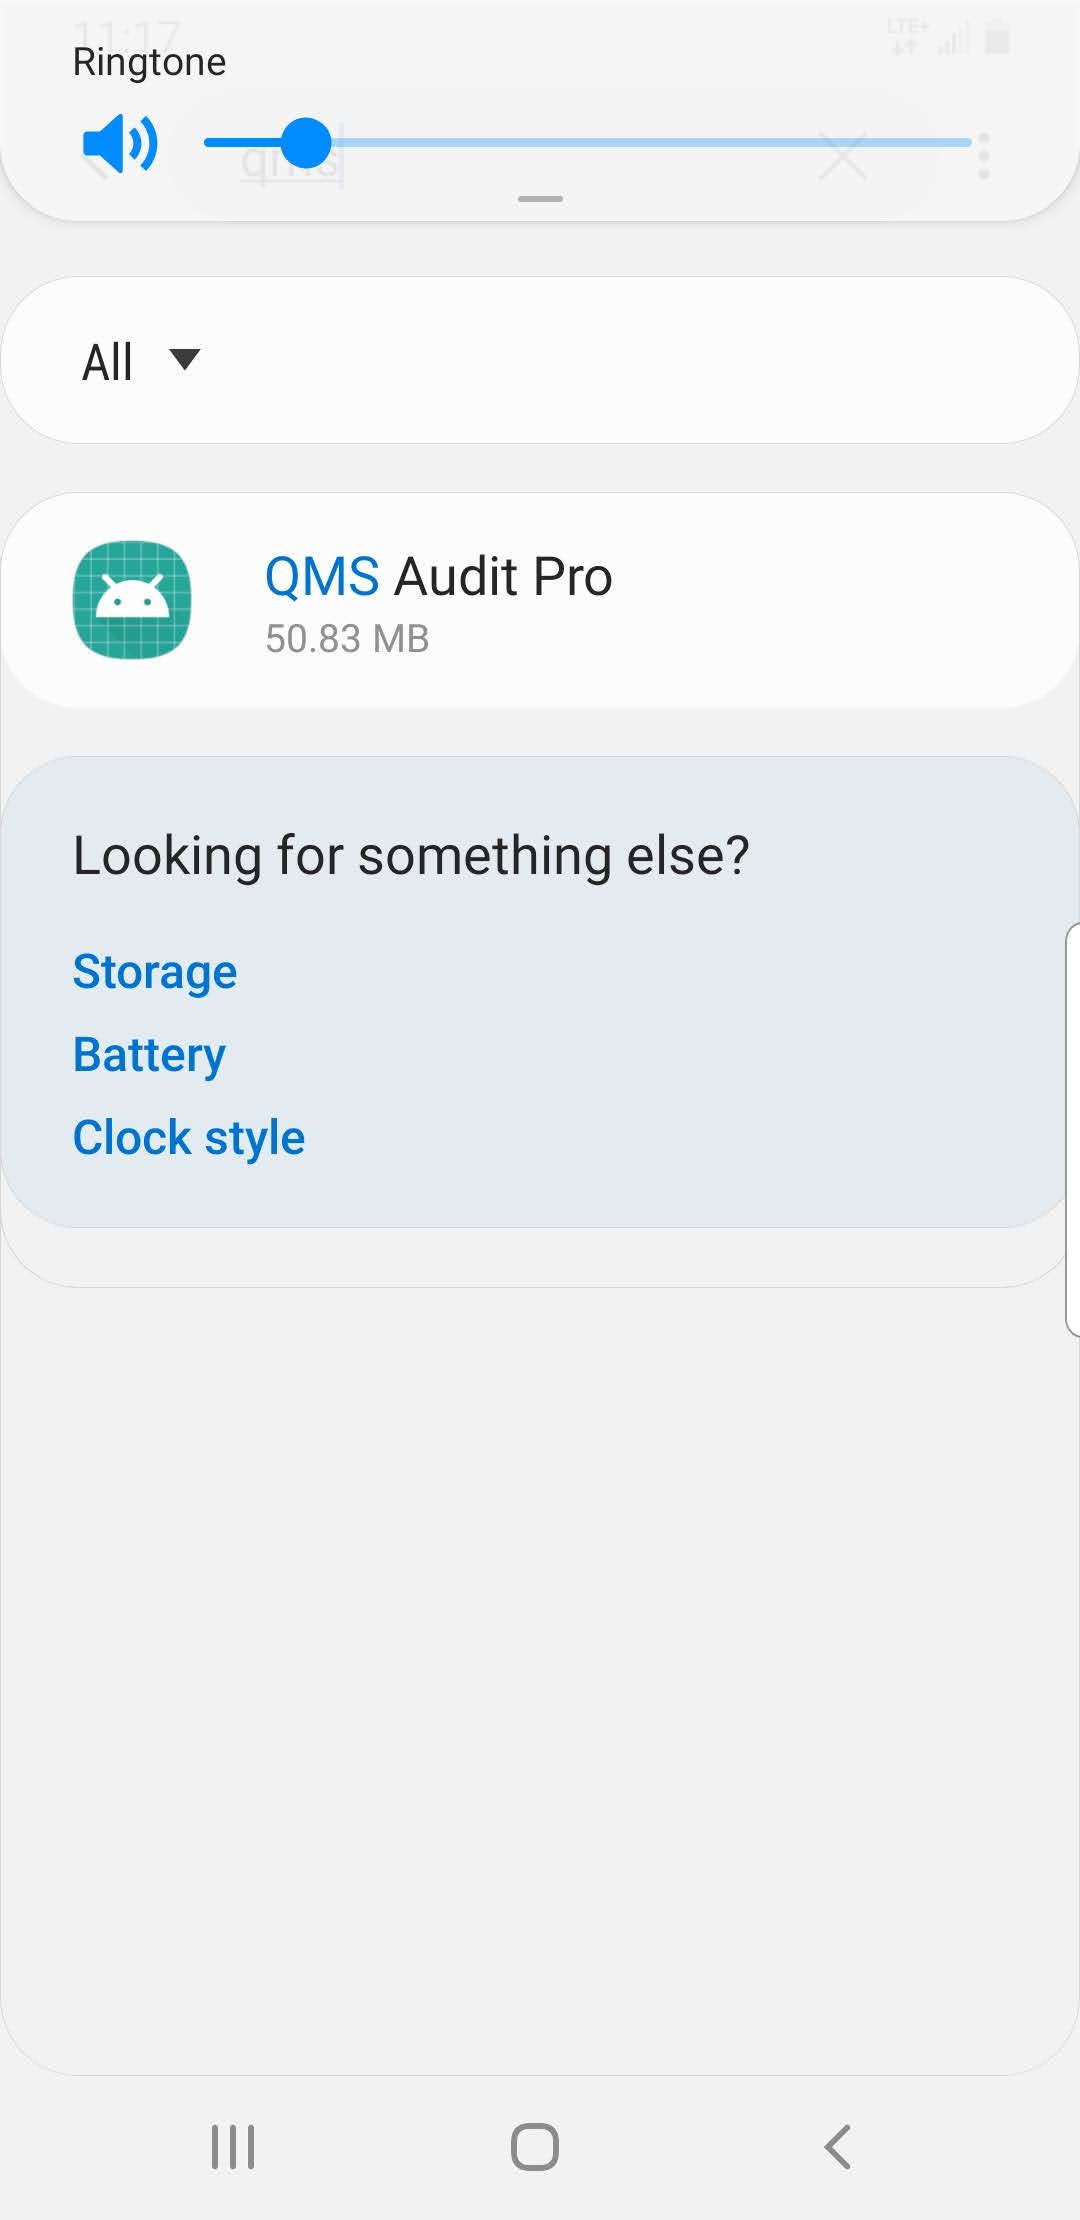
- Tap the QMS Audit Pro.
- Tap Permissions. If a permission is turned off, the switch next to it will be gray.
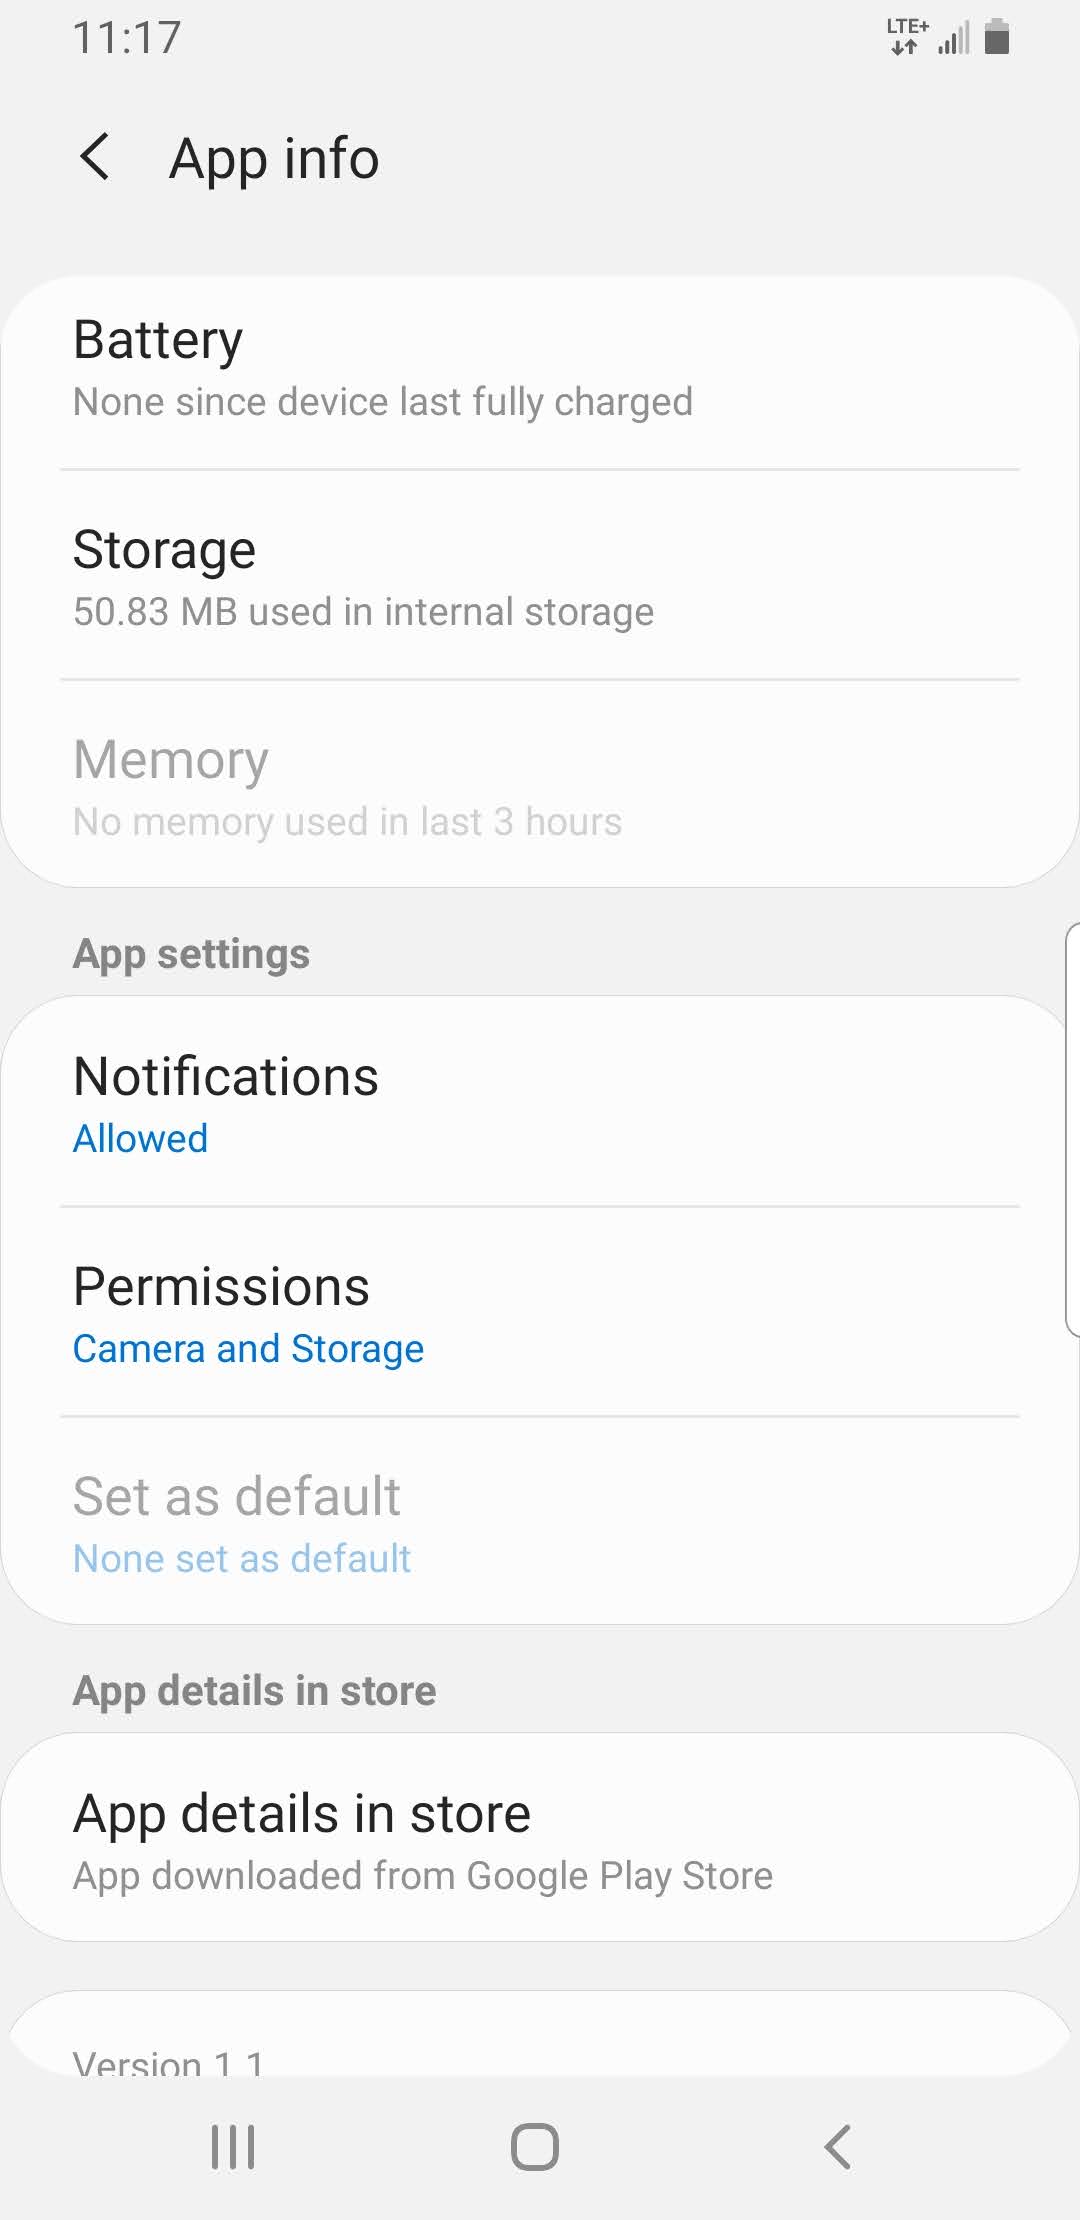
- You can consider turning Camera permissions on to see if that resolves your issue. To turn a permission on, tap the permission.
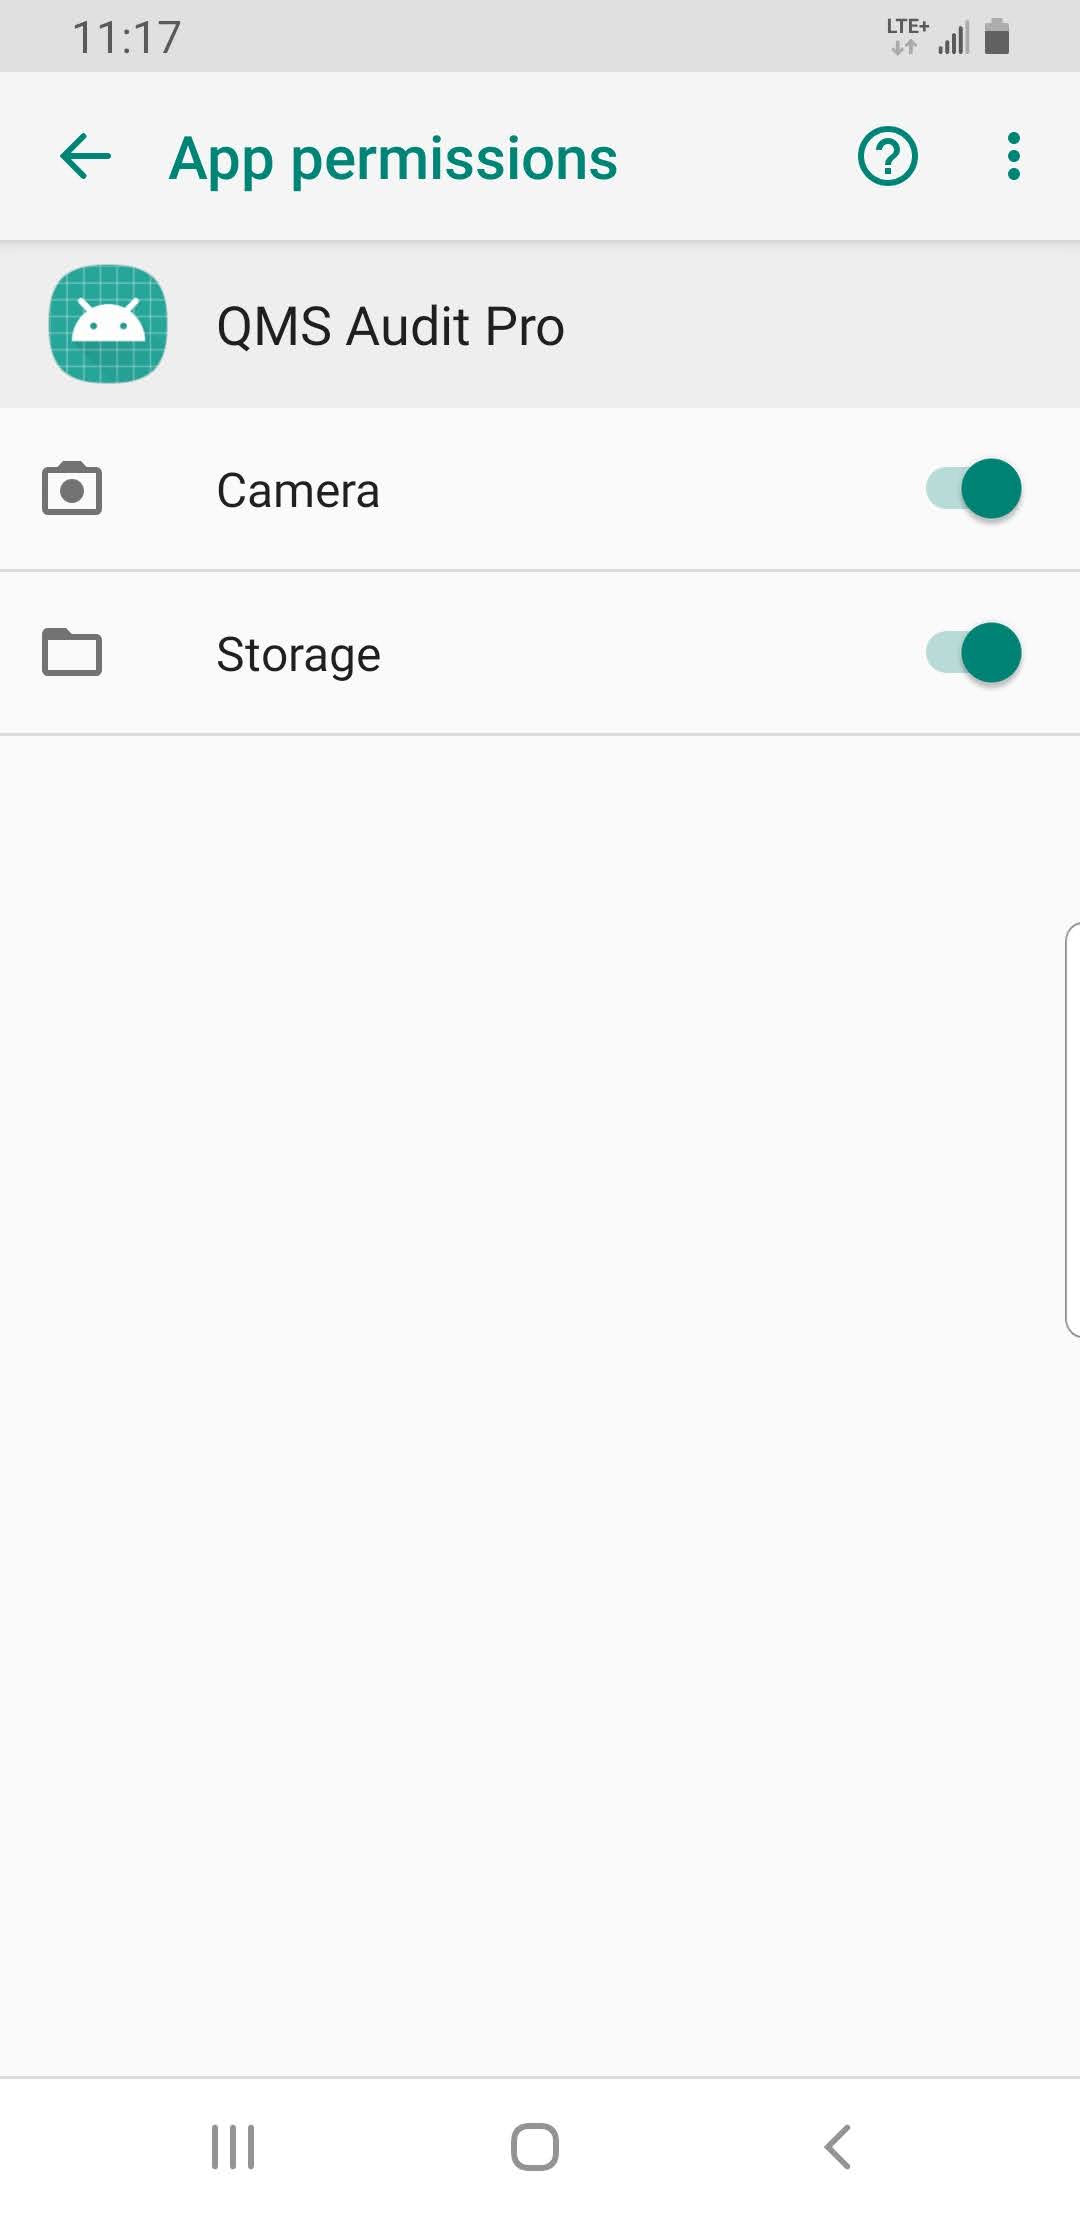
- Try using the QMS Audit Pro again.
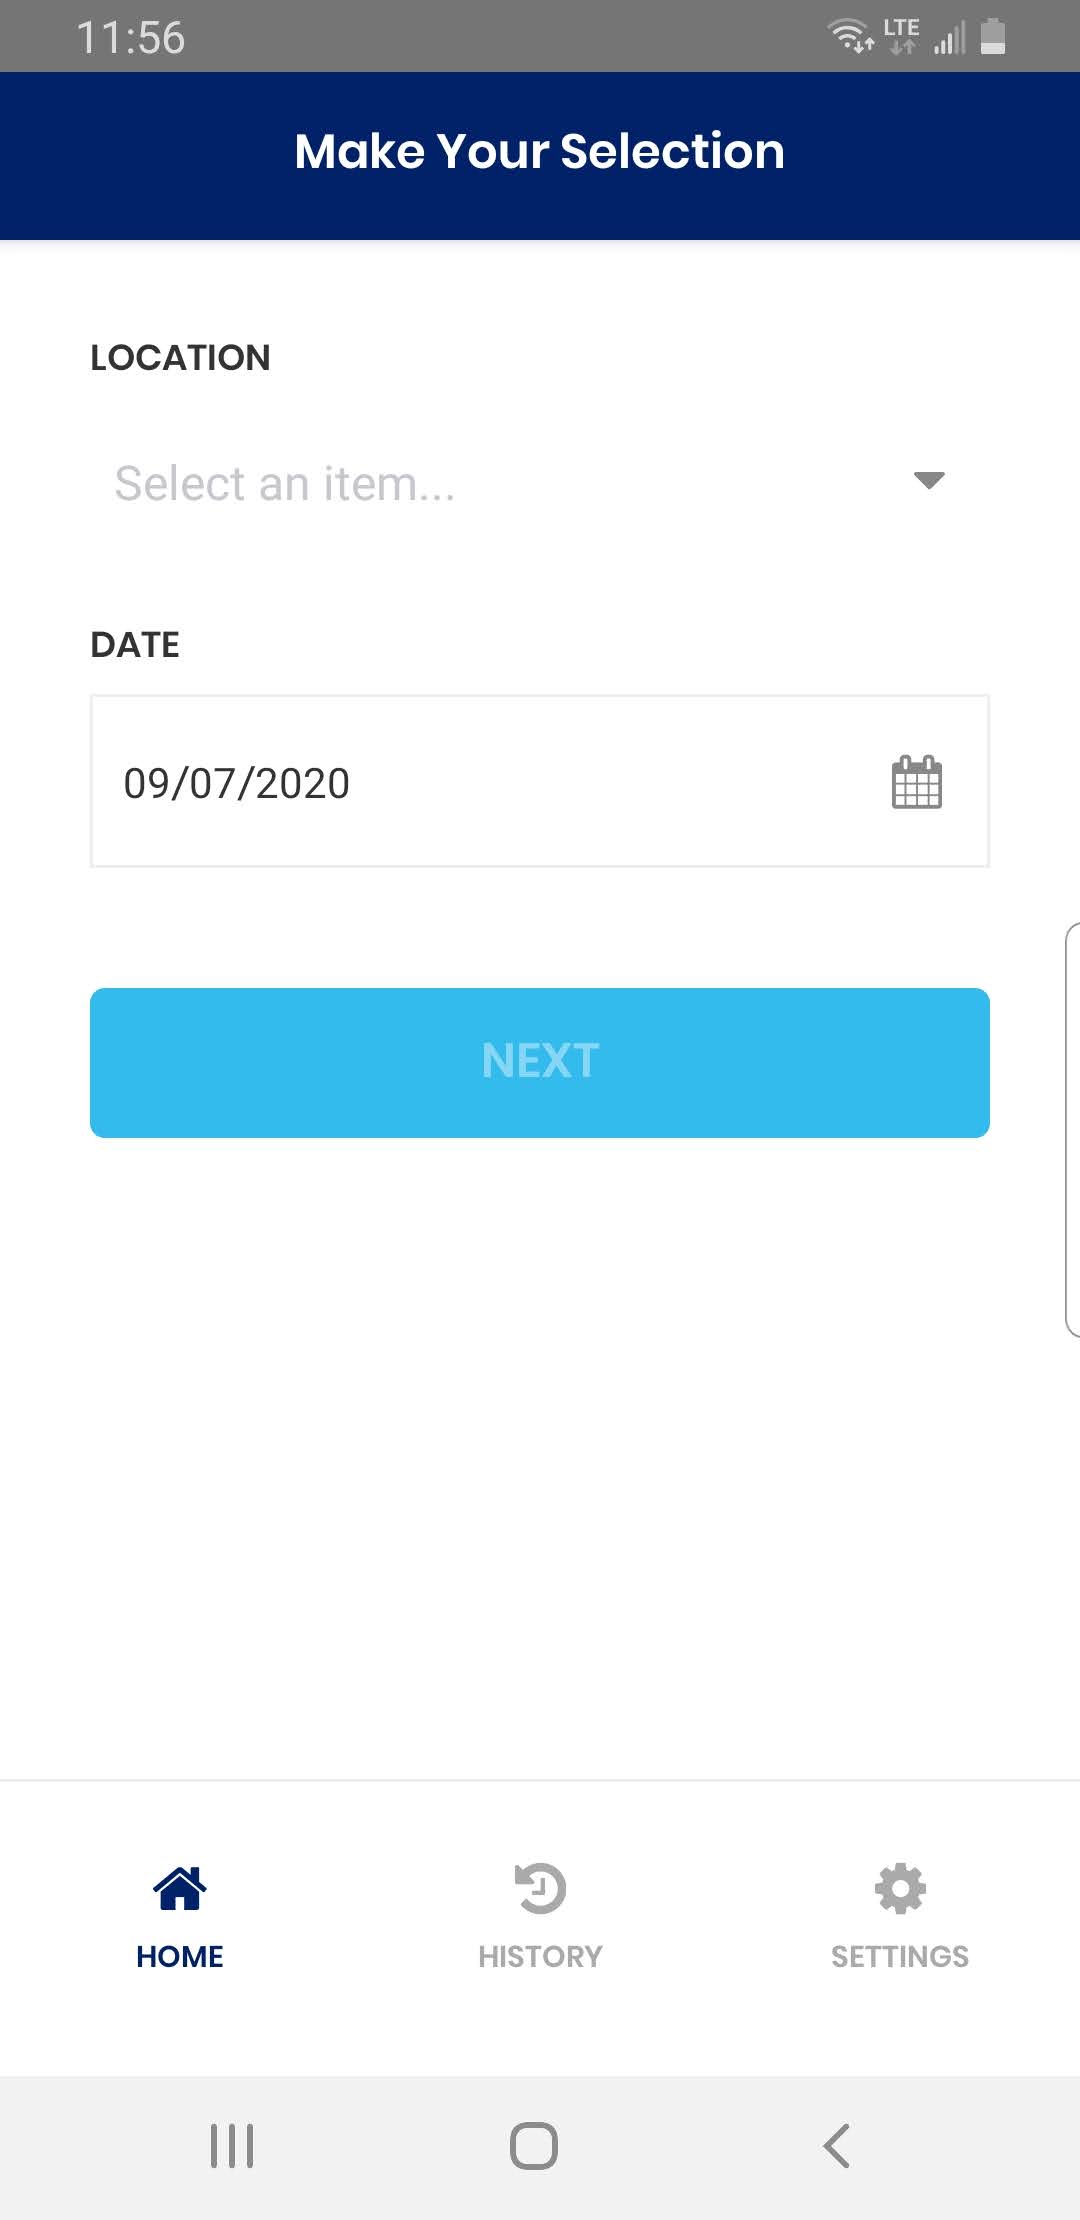
1. Select Location for an Audit
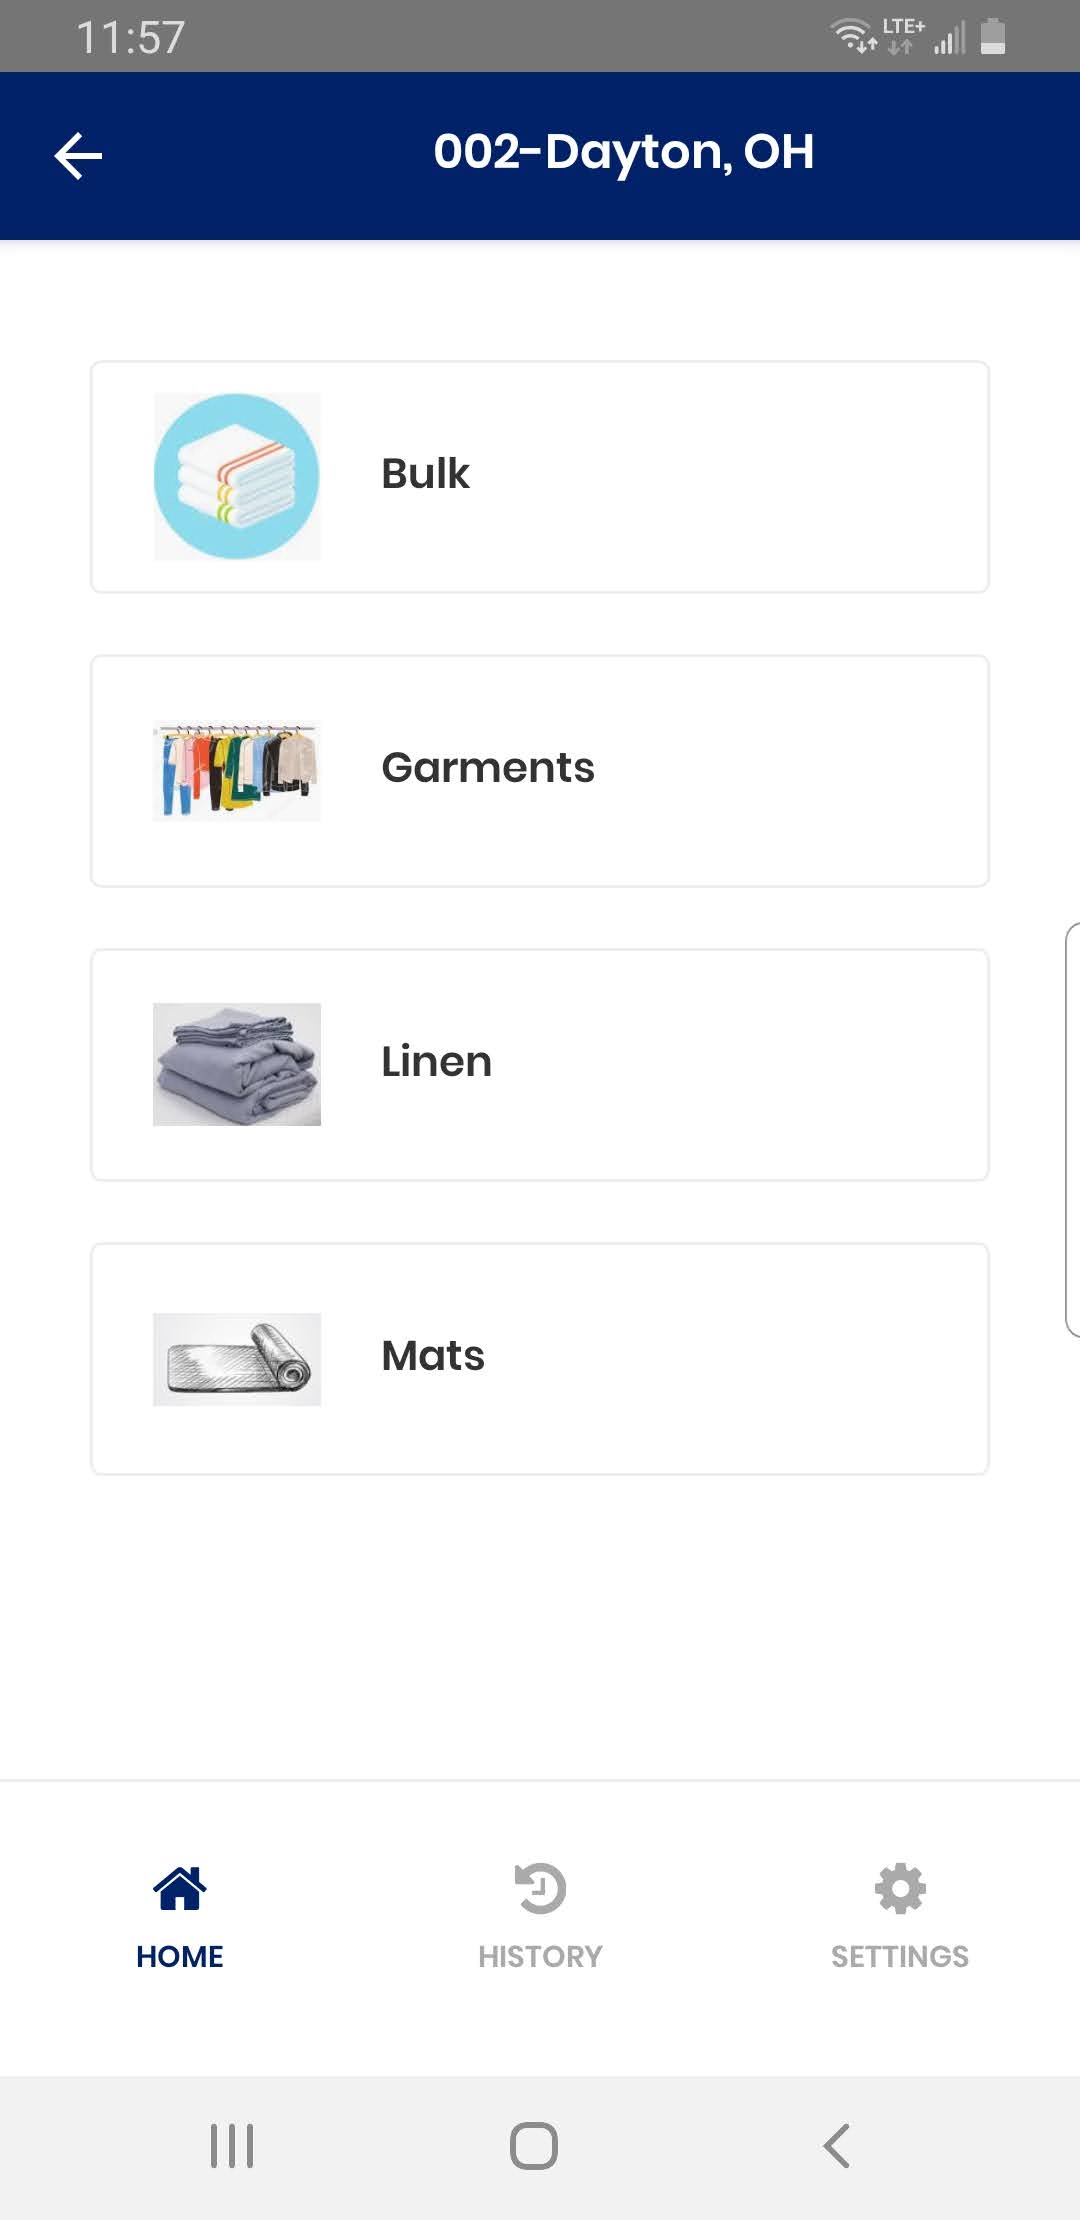
2. Select Audit Category

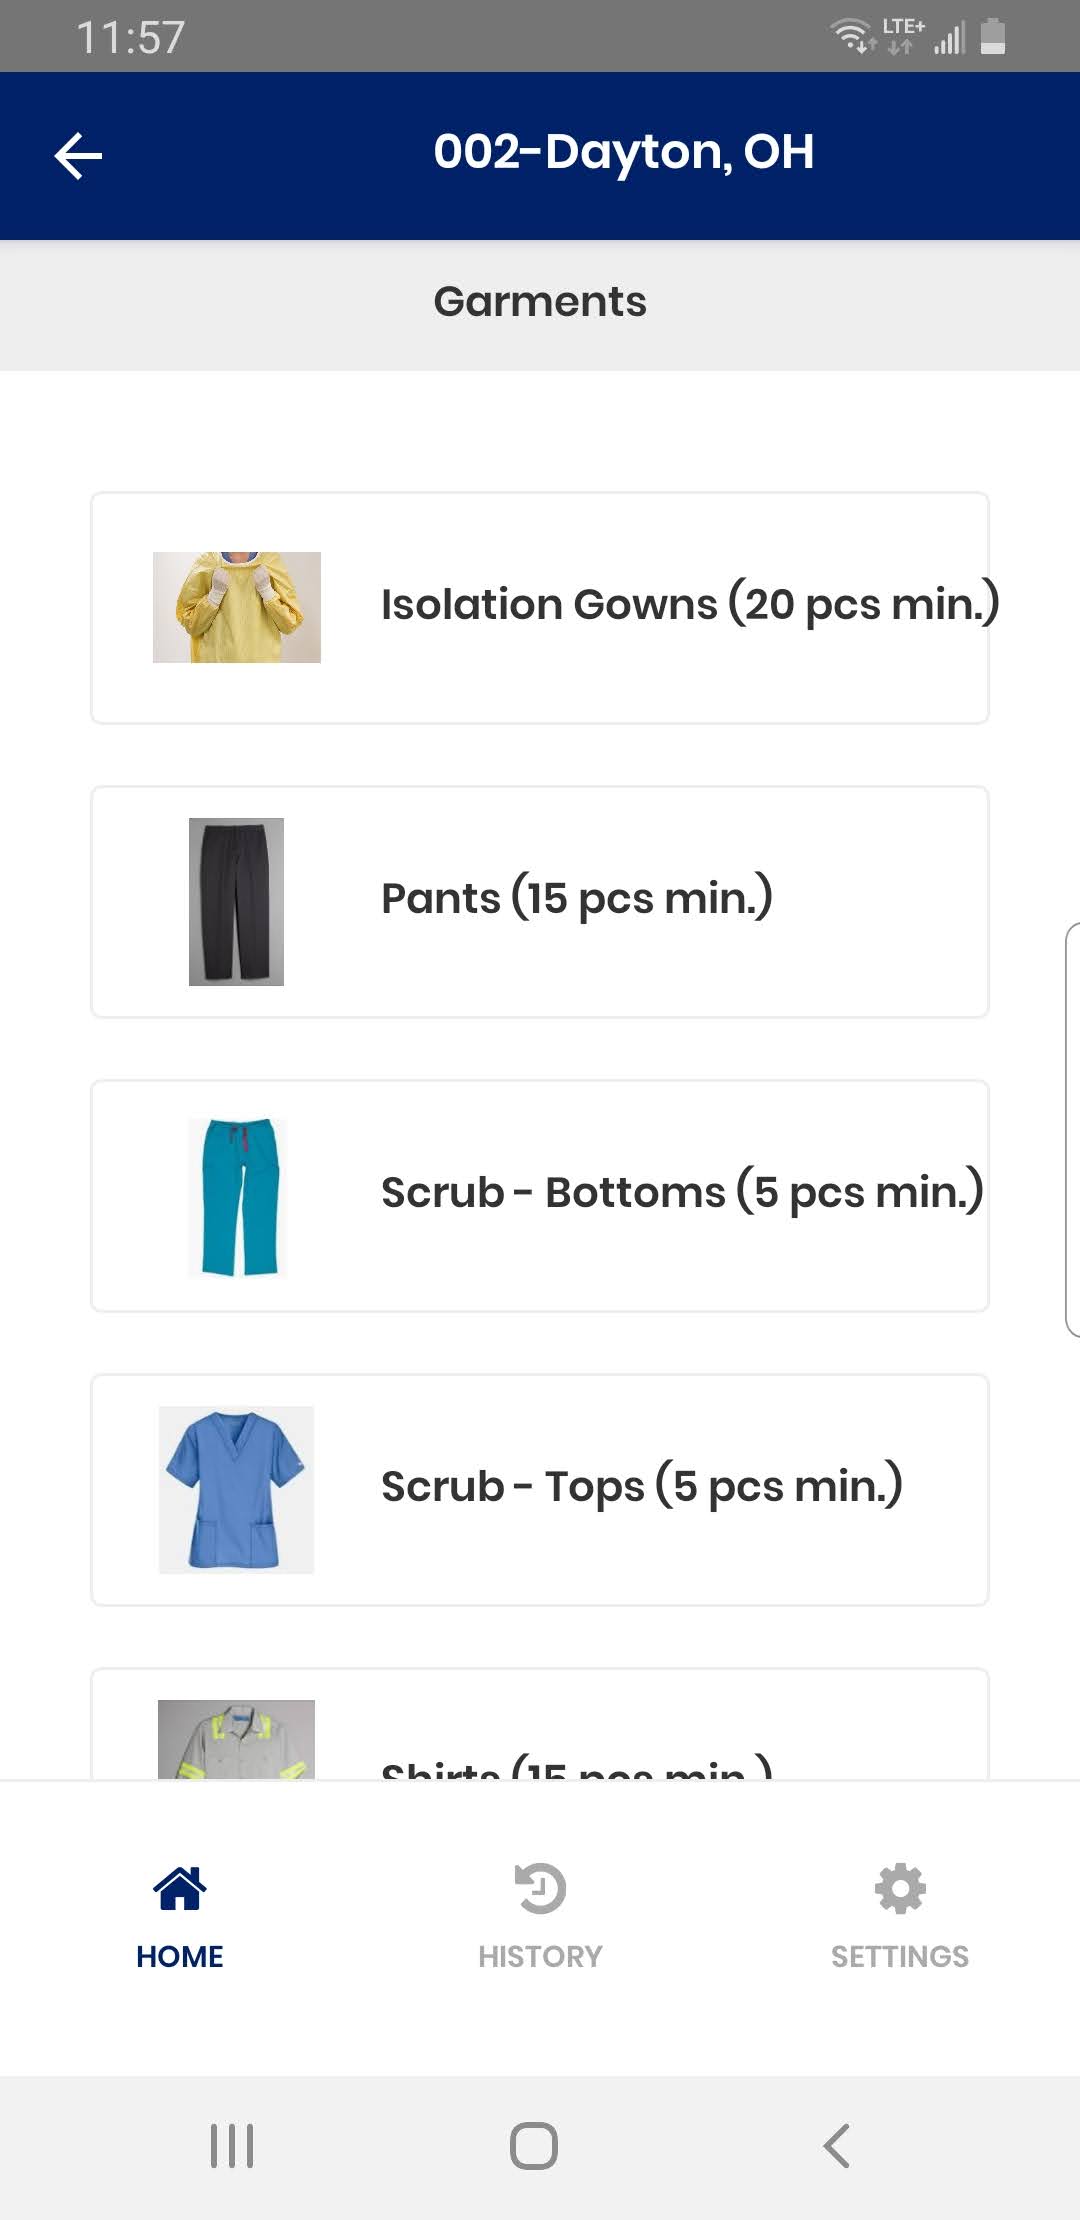
3. Select Audit Sub Category
4. Select Audit area
5. Provide Audit information including Total Audited and Non-Conformance
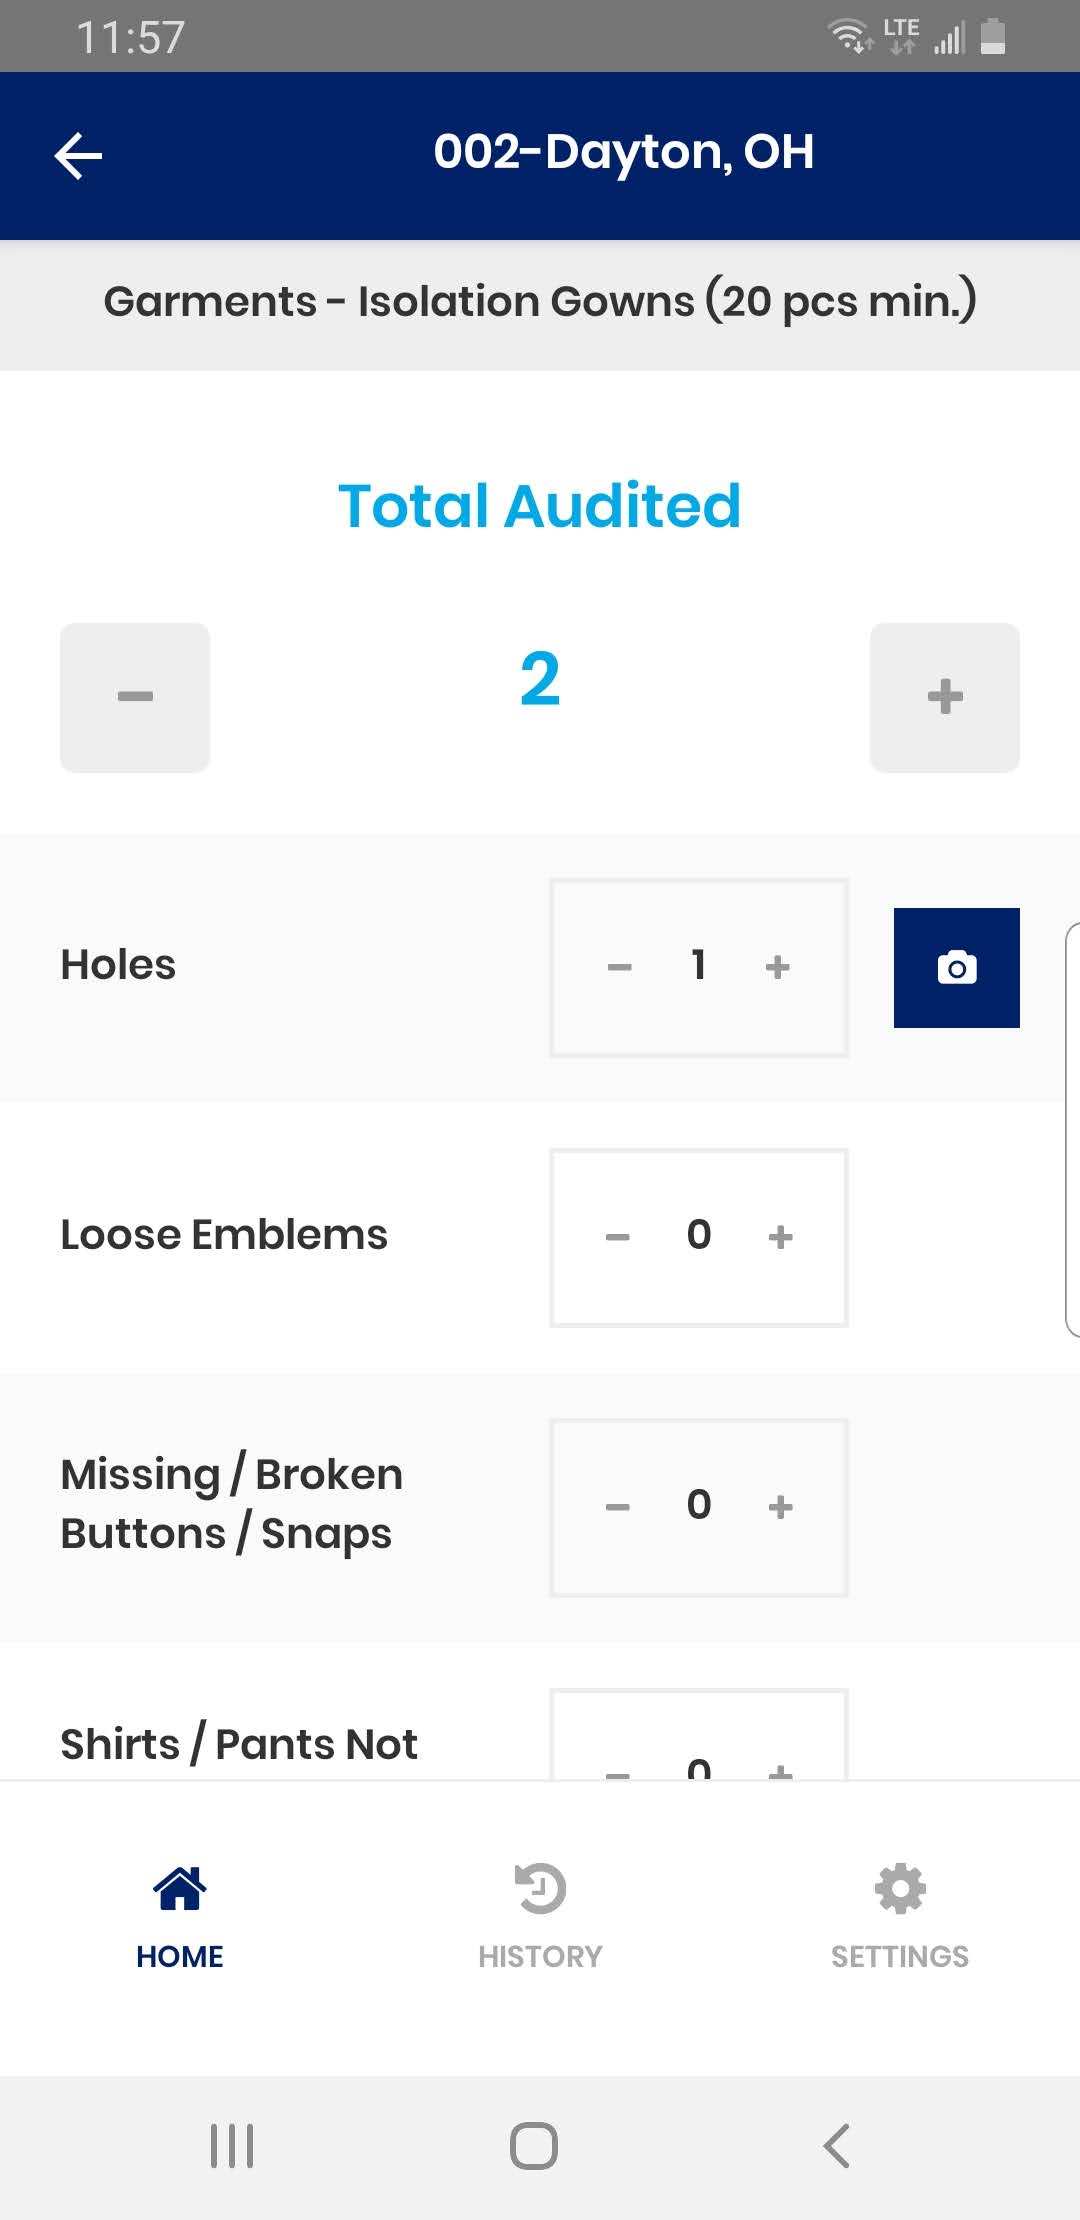
6. Click on Camera Icon next to Audit item.
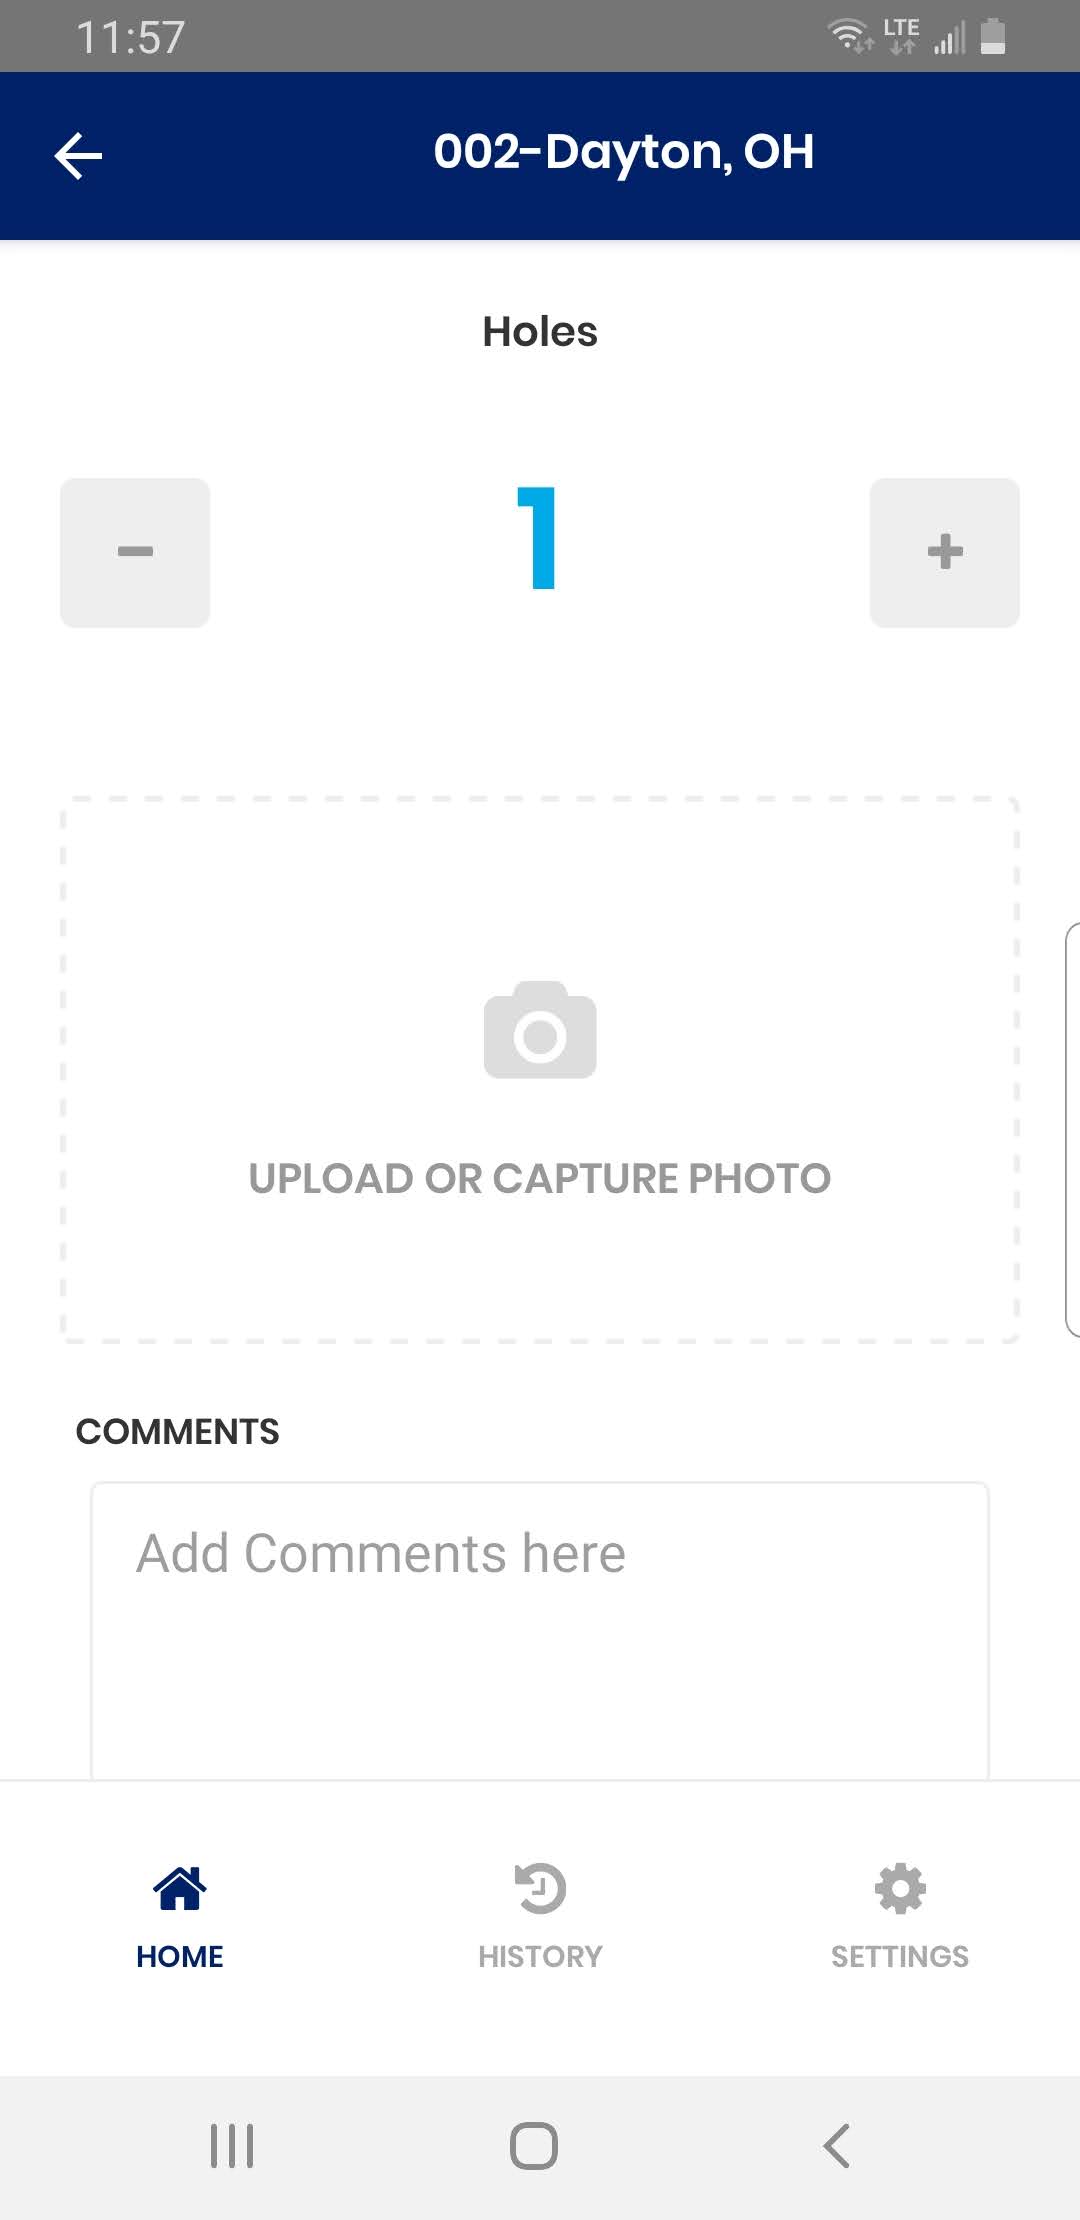
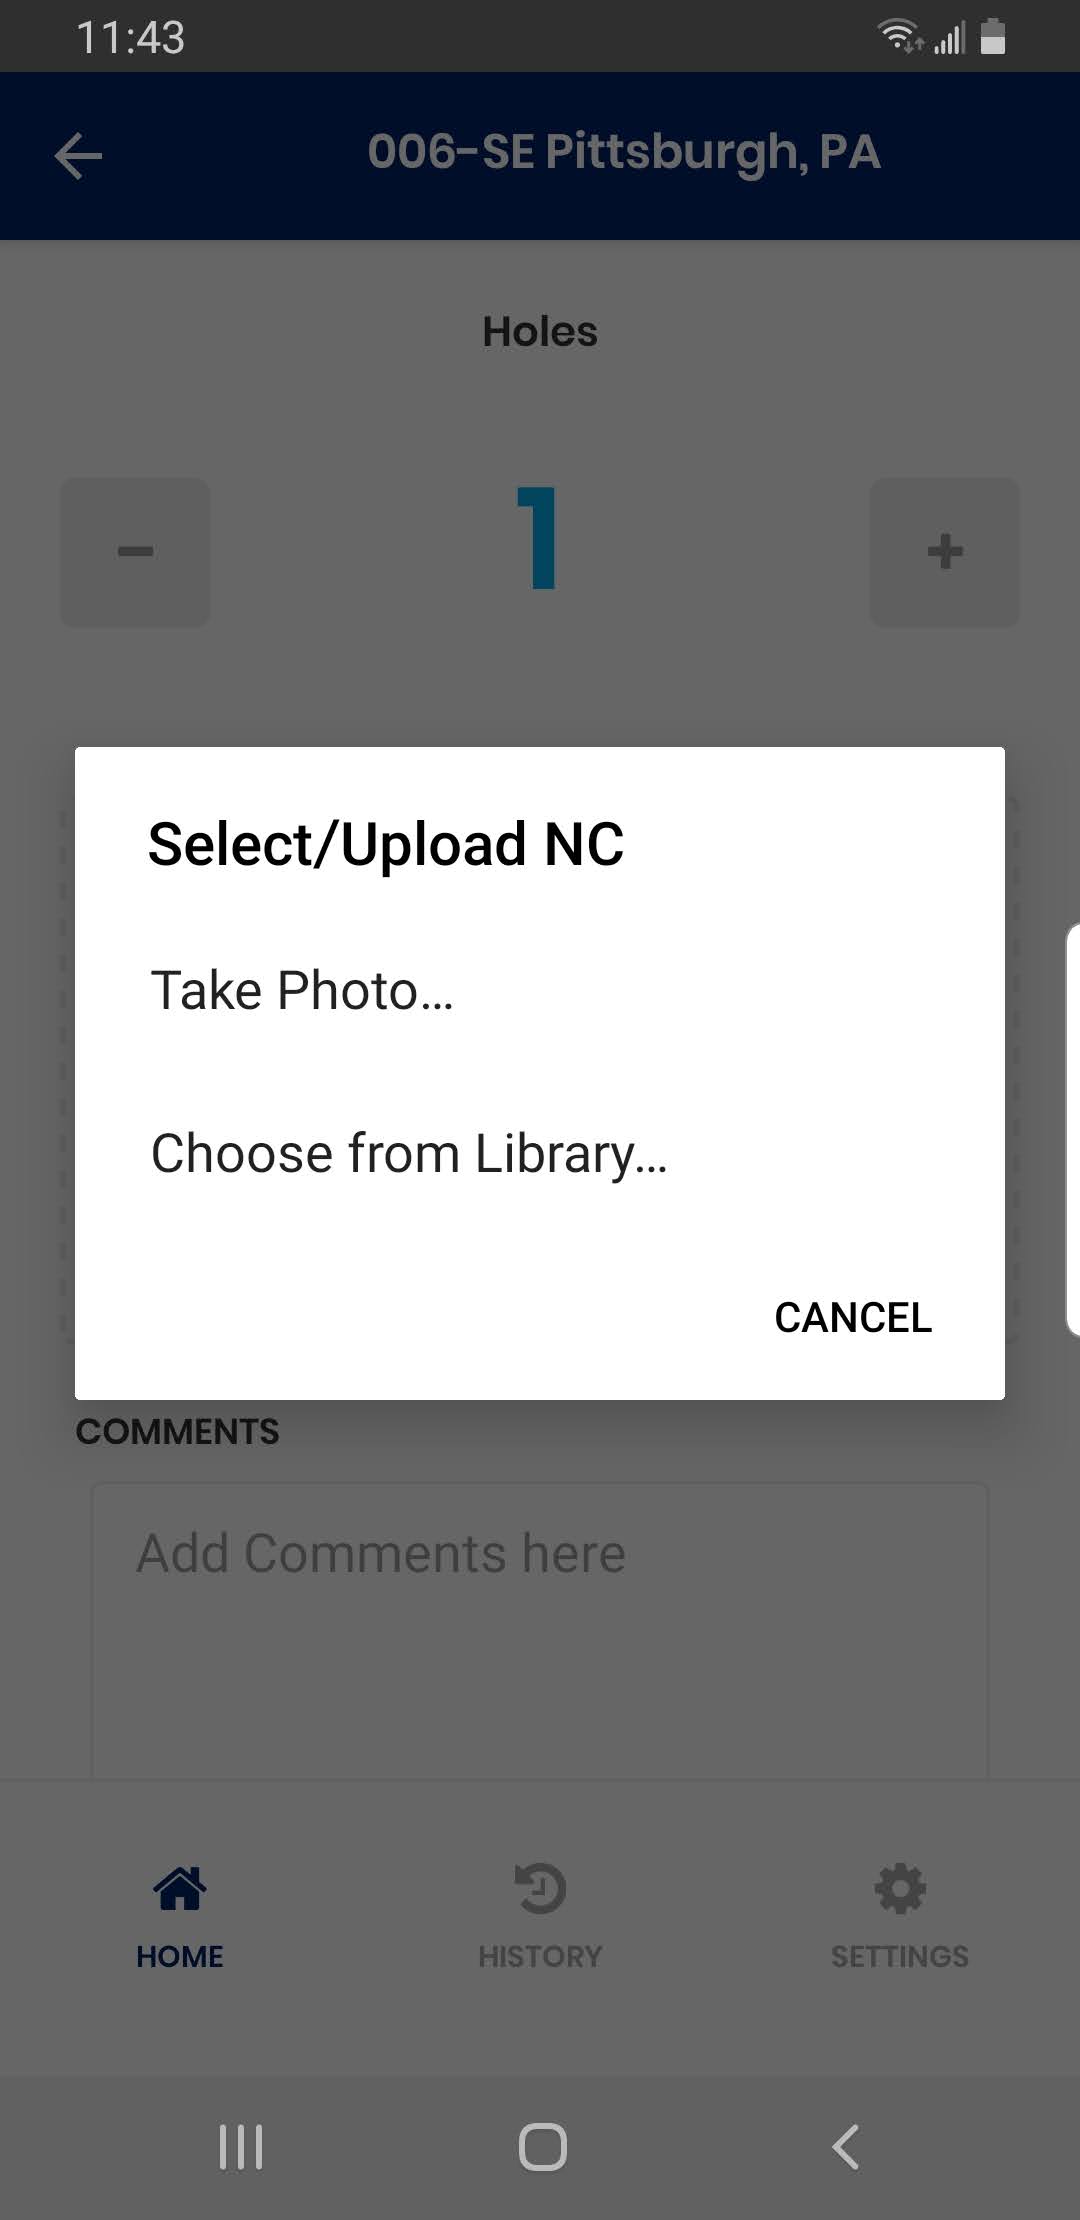
7. Click on Upload Or Capture Photo. To take picture using Phone Camera, select “Take Photo…”. To utilize previously taken picture, select “Choose from Library…”.
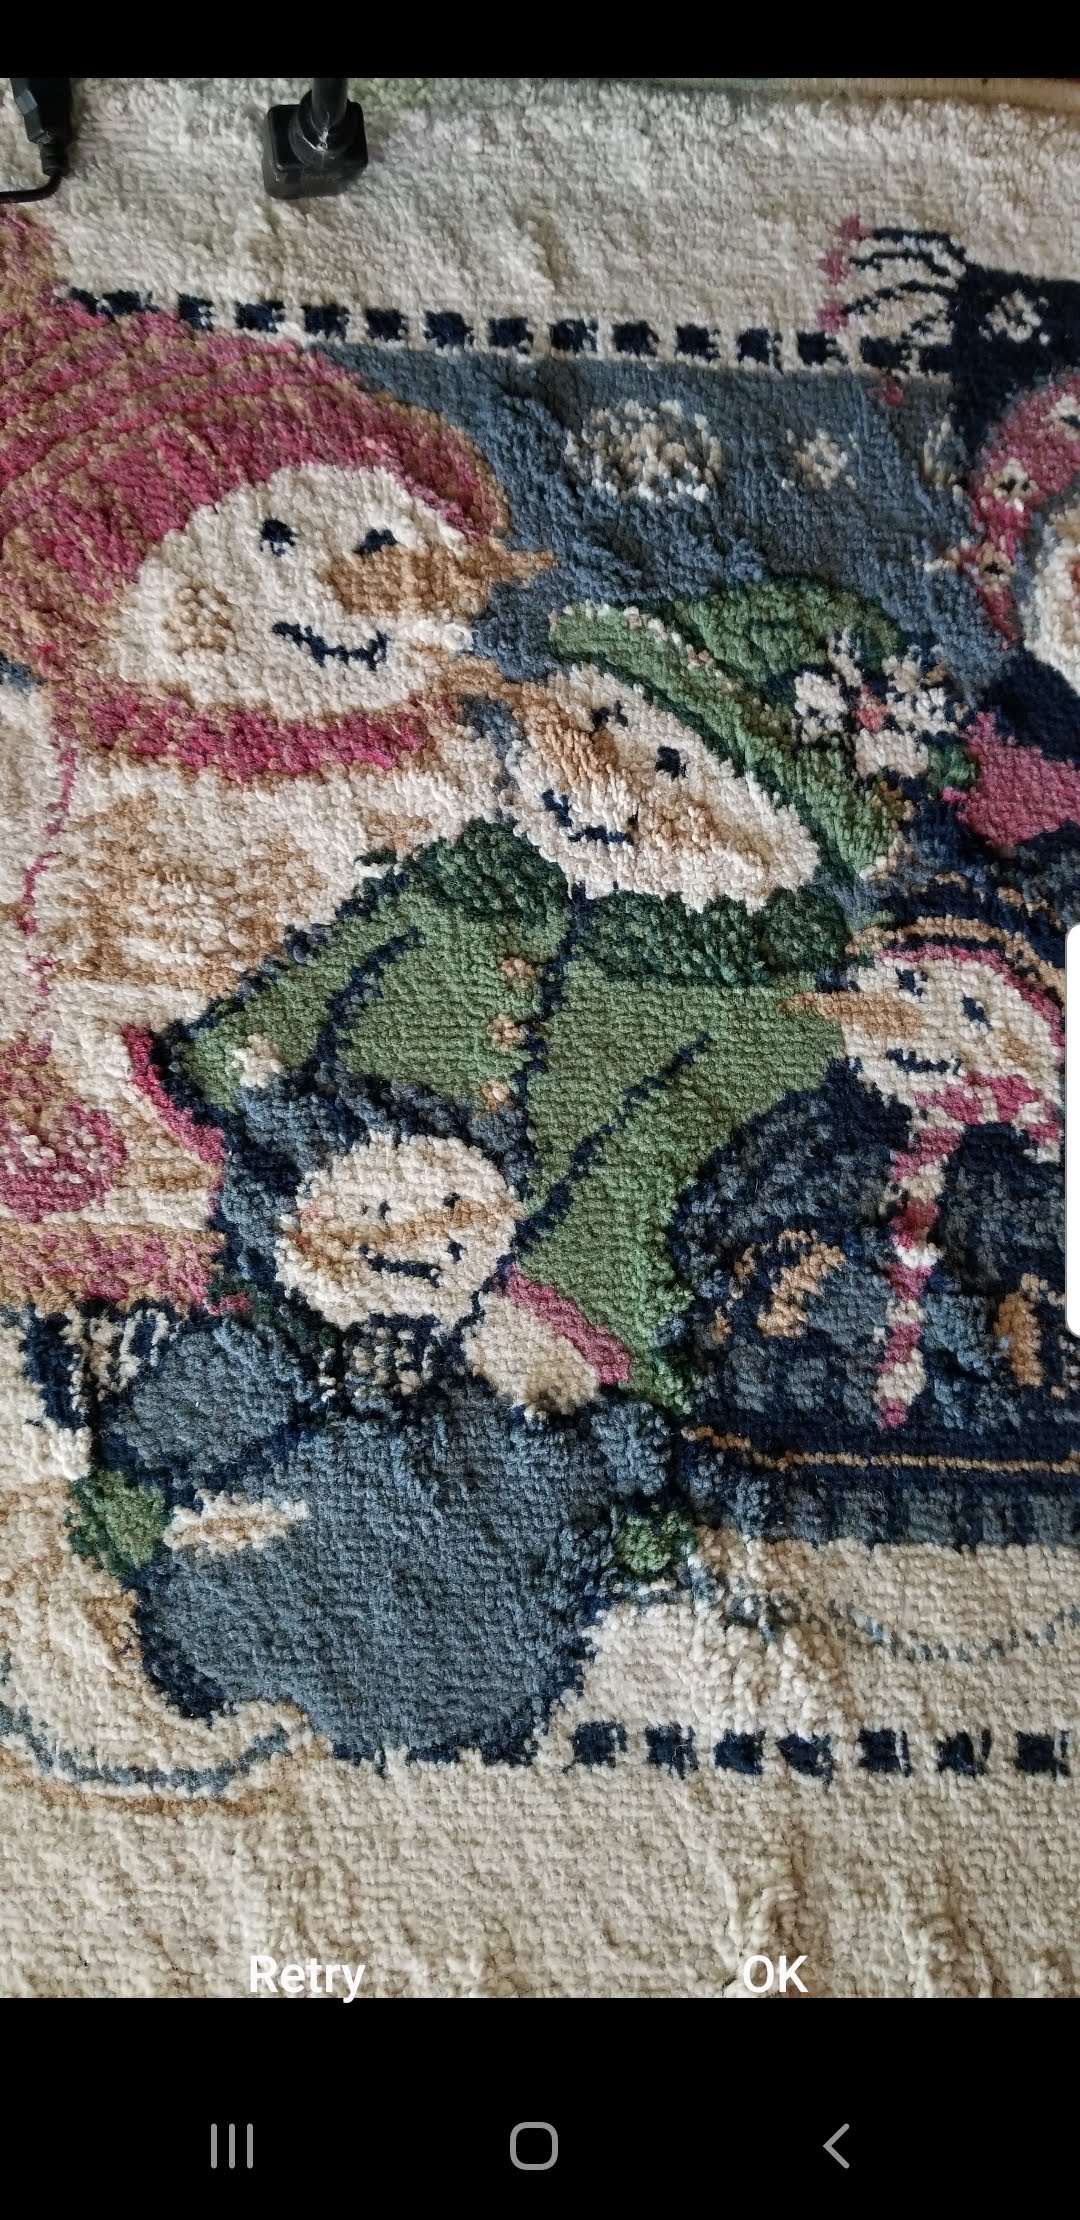
8. After selecting “Take photo”, Take picture by clicking on Camera big circle button in the center
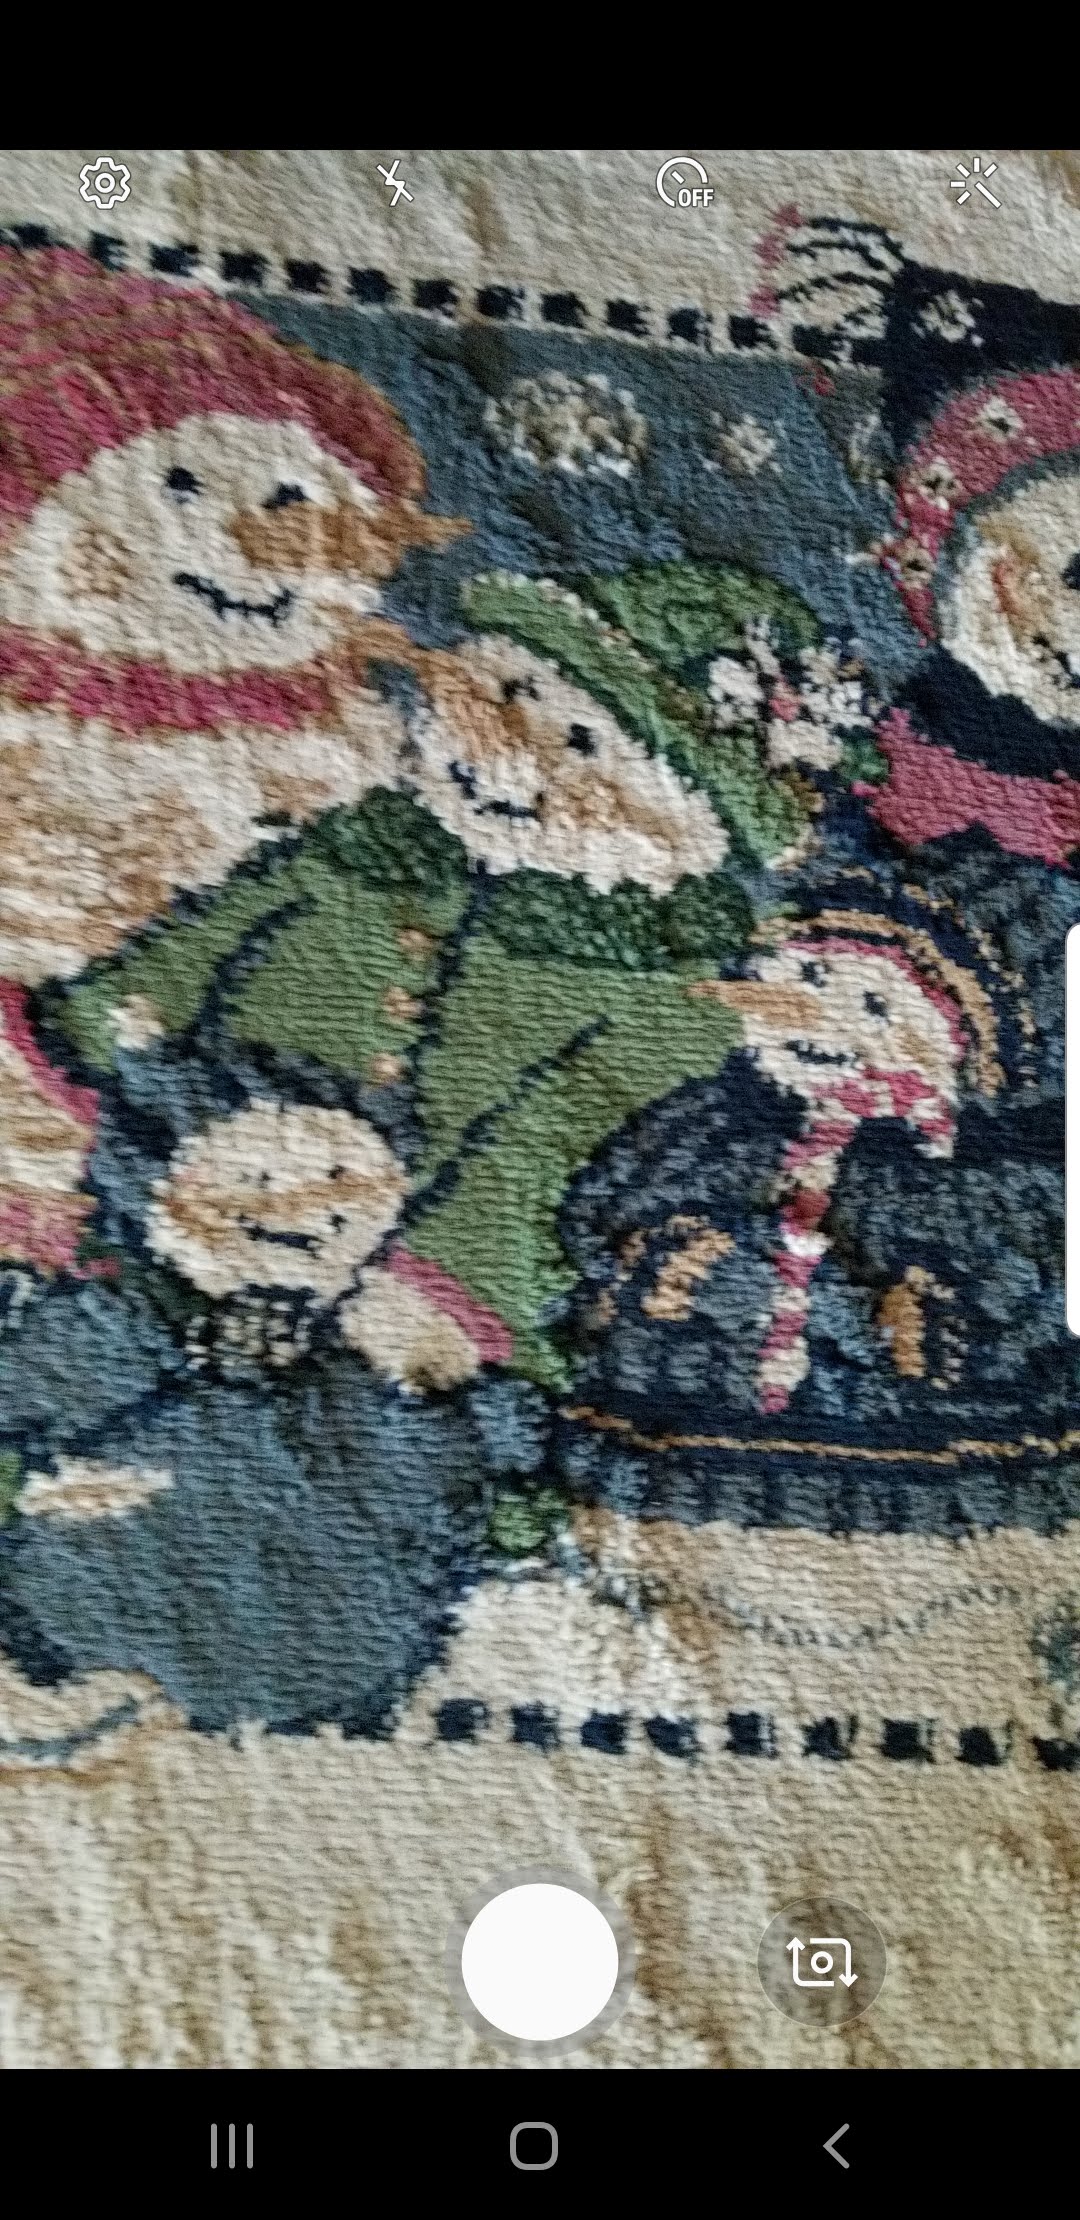
9. Once picture is captured, you can review picture. Click Retry to retake the picture or OK to confirm.
10. Once picture is taken, it will appear below the non-conformance. You can add additional pictures by taking same steps.
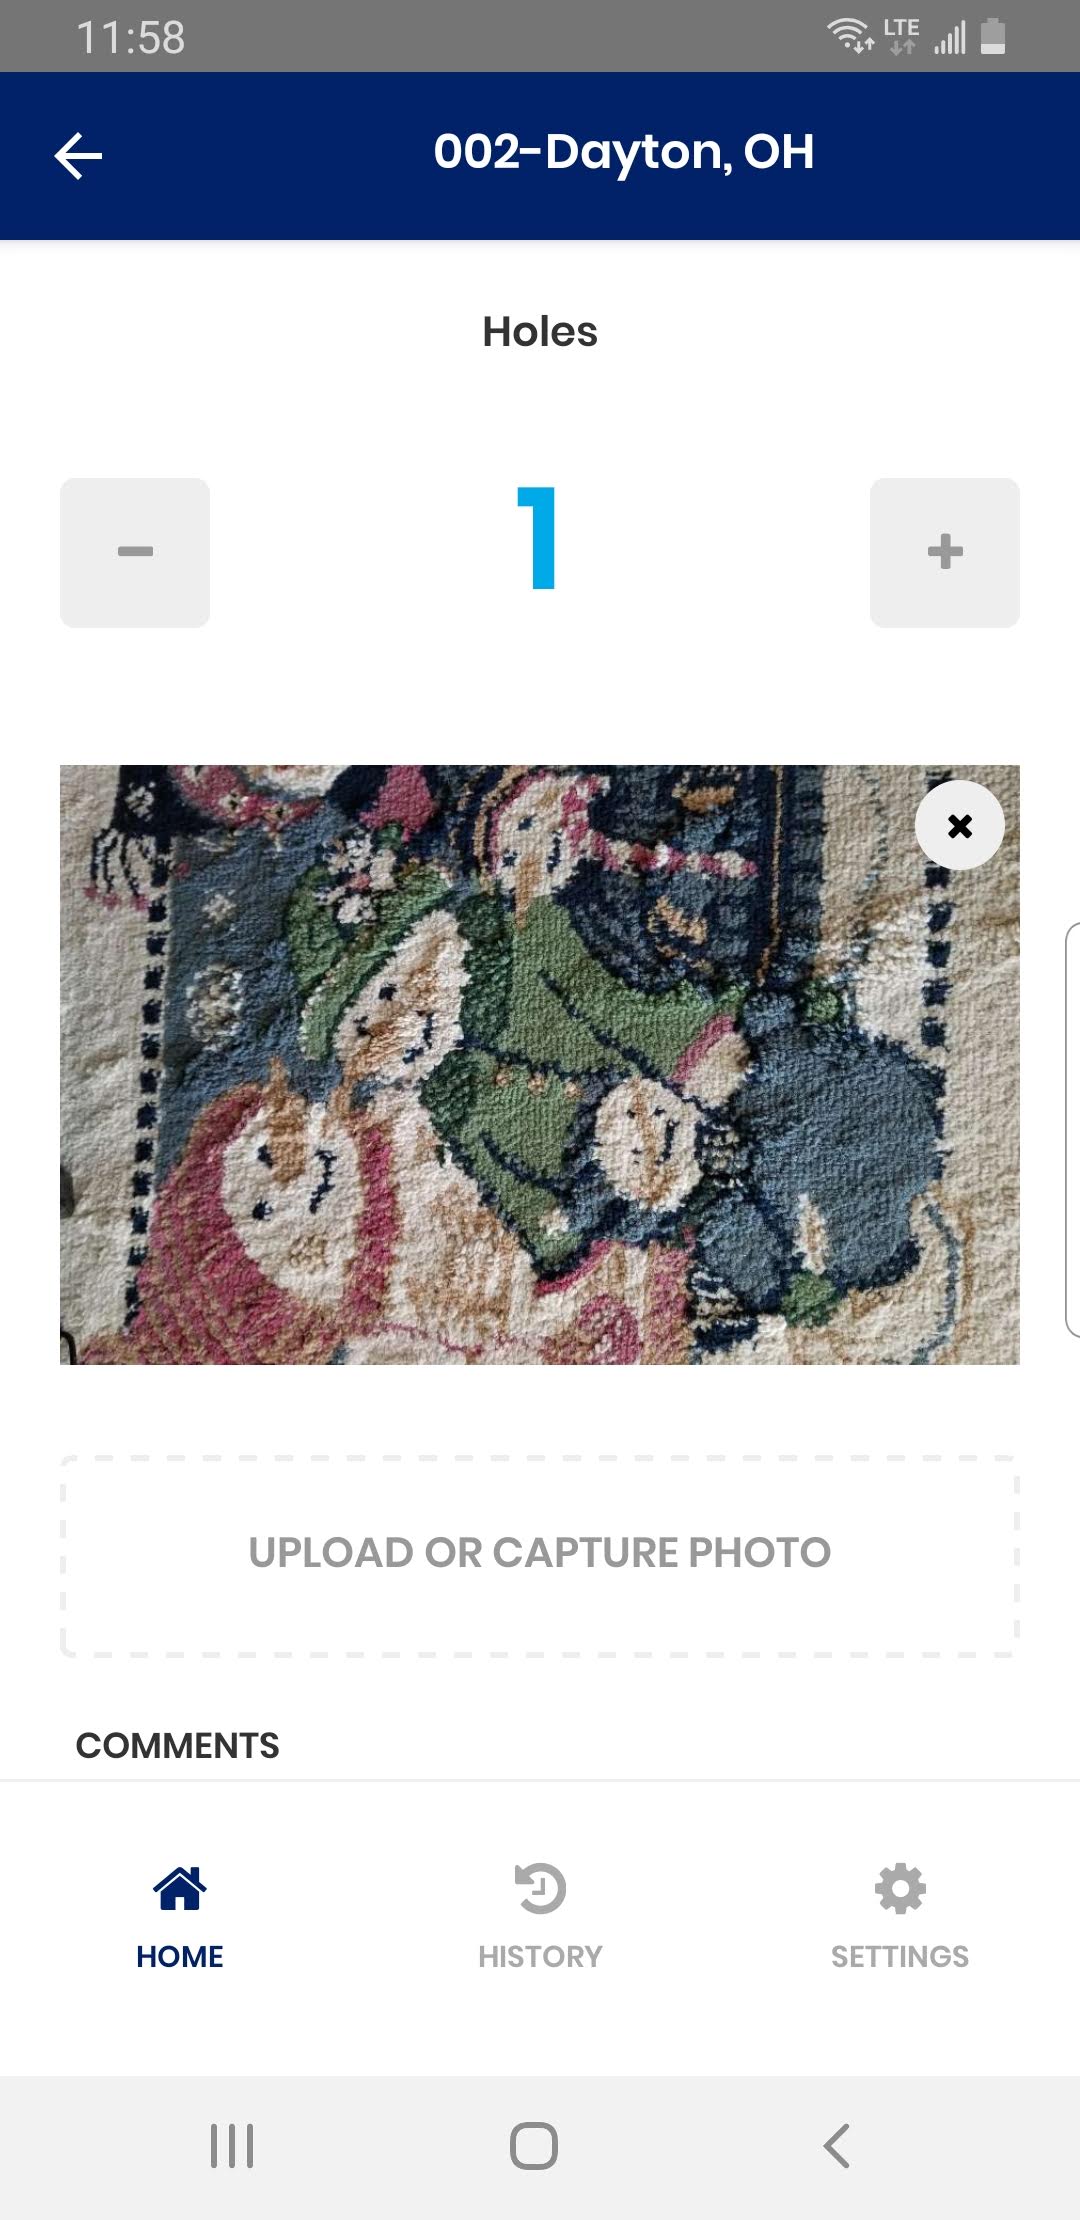
11. You can add comments related to pictures, by entering details in Comments section.
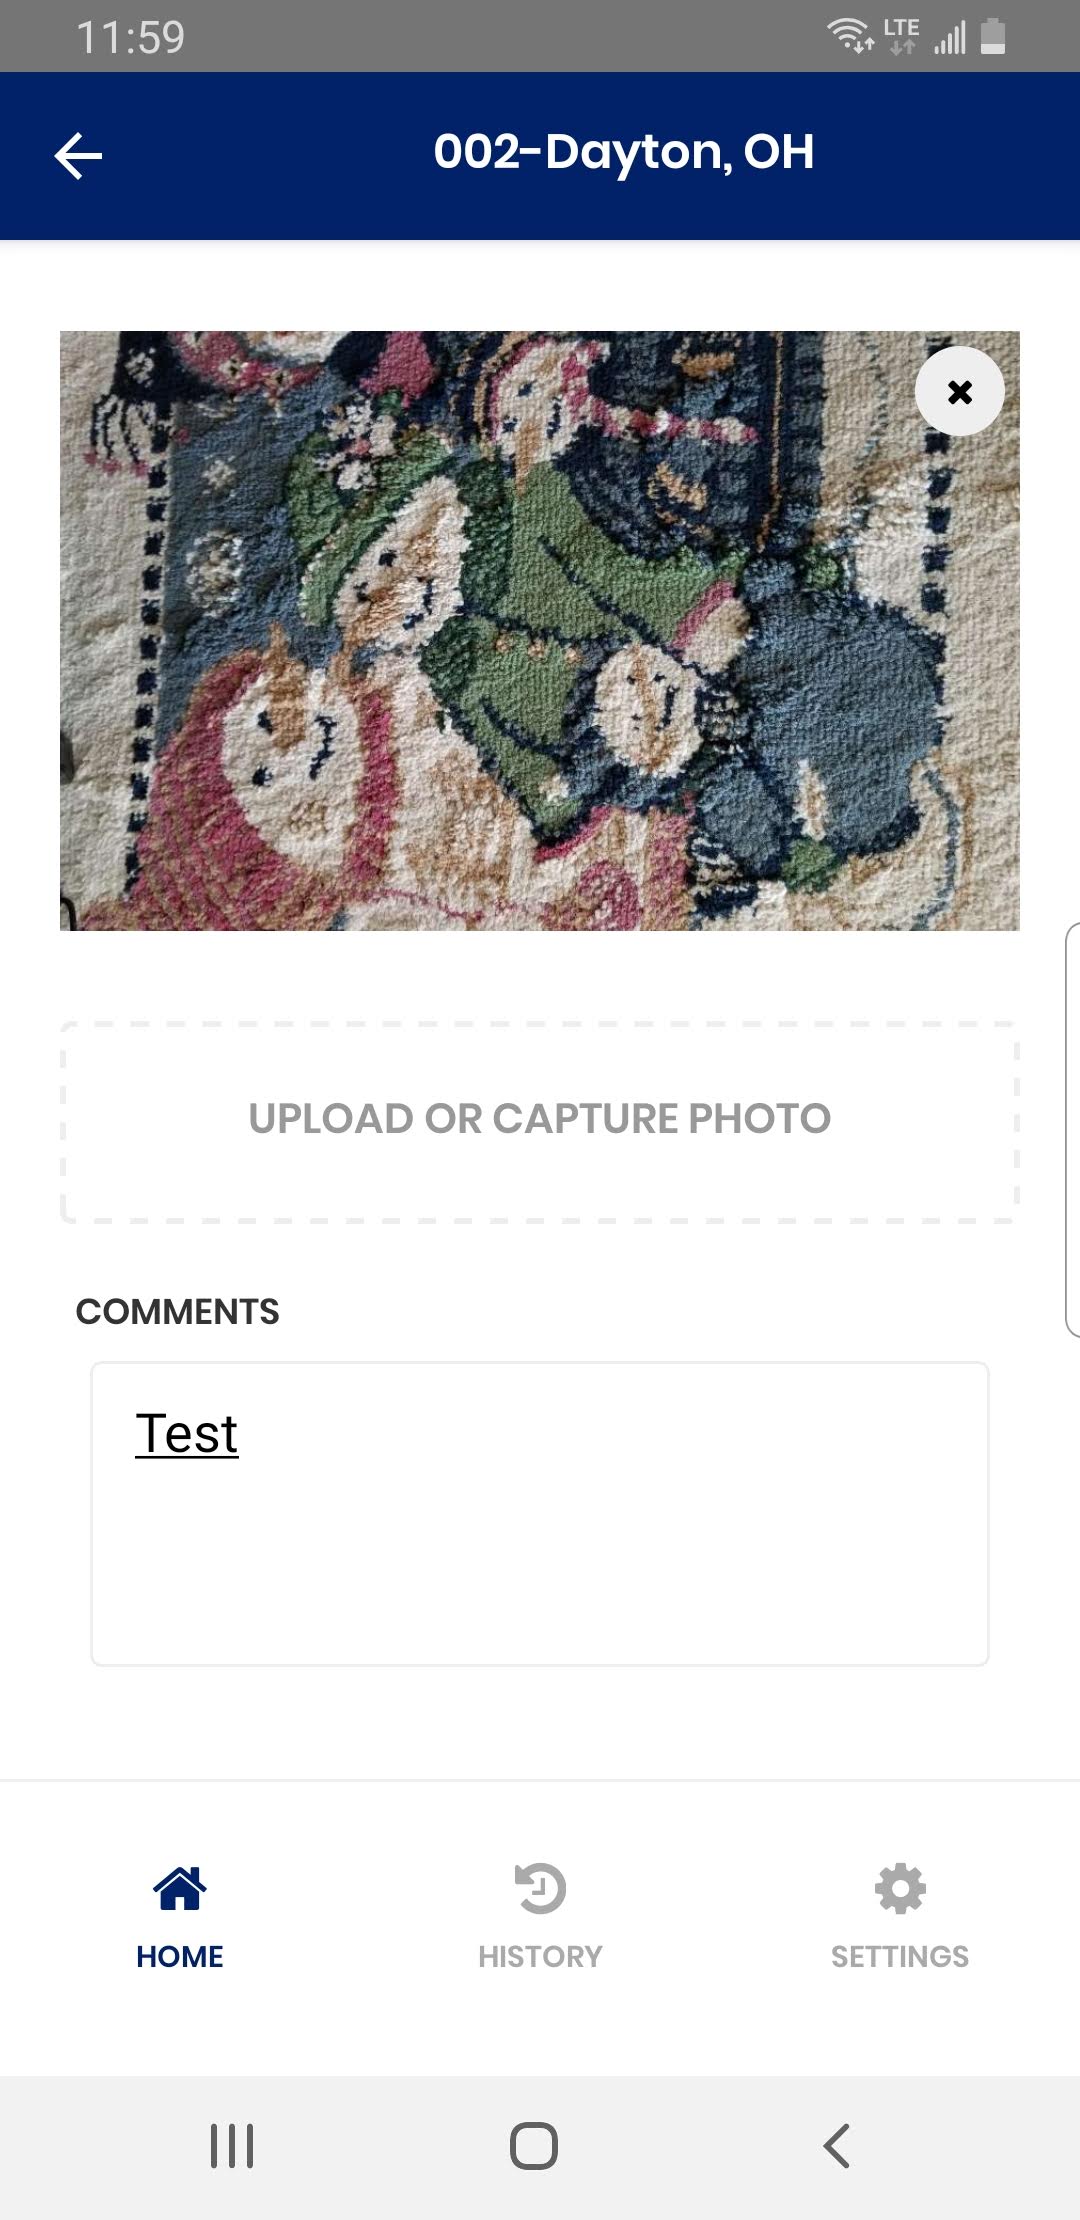
12. Once you have completed this, Click on Upload to upload the picture and associate it with non-conformance. You can enter details of additional non-conformances if needed.
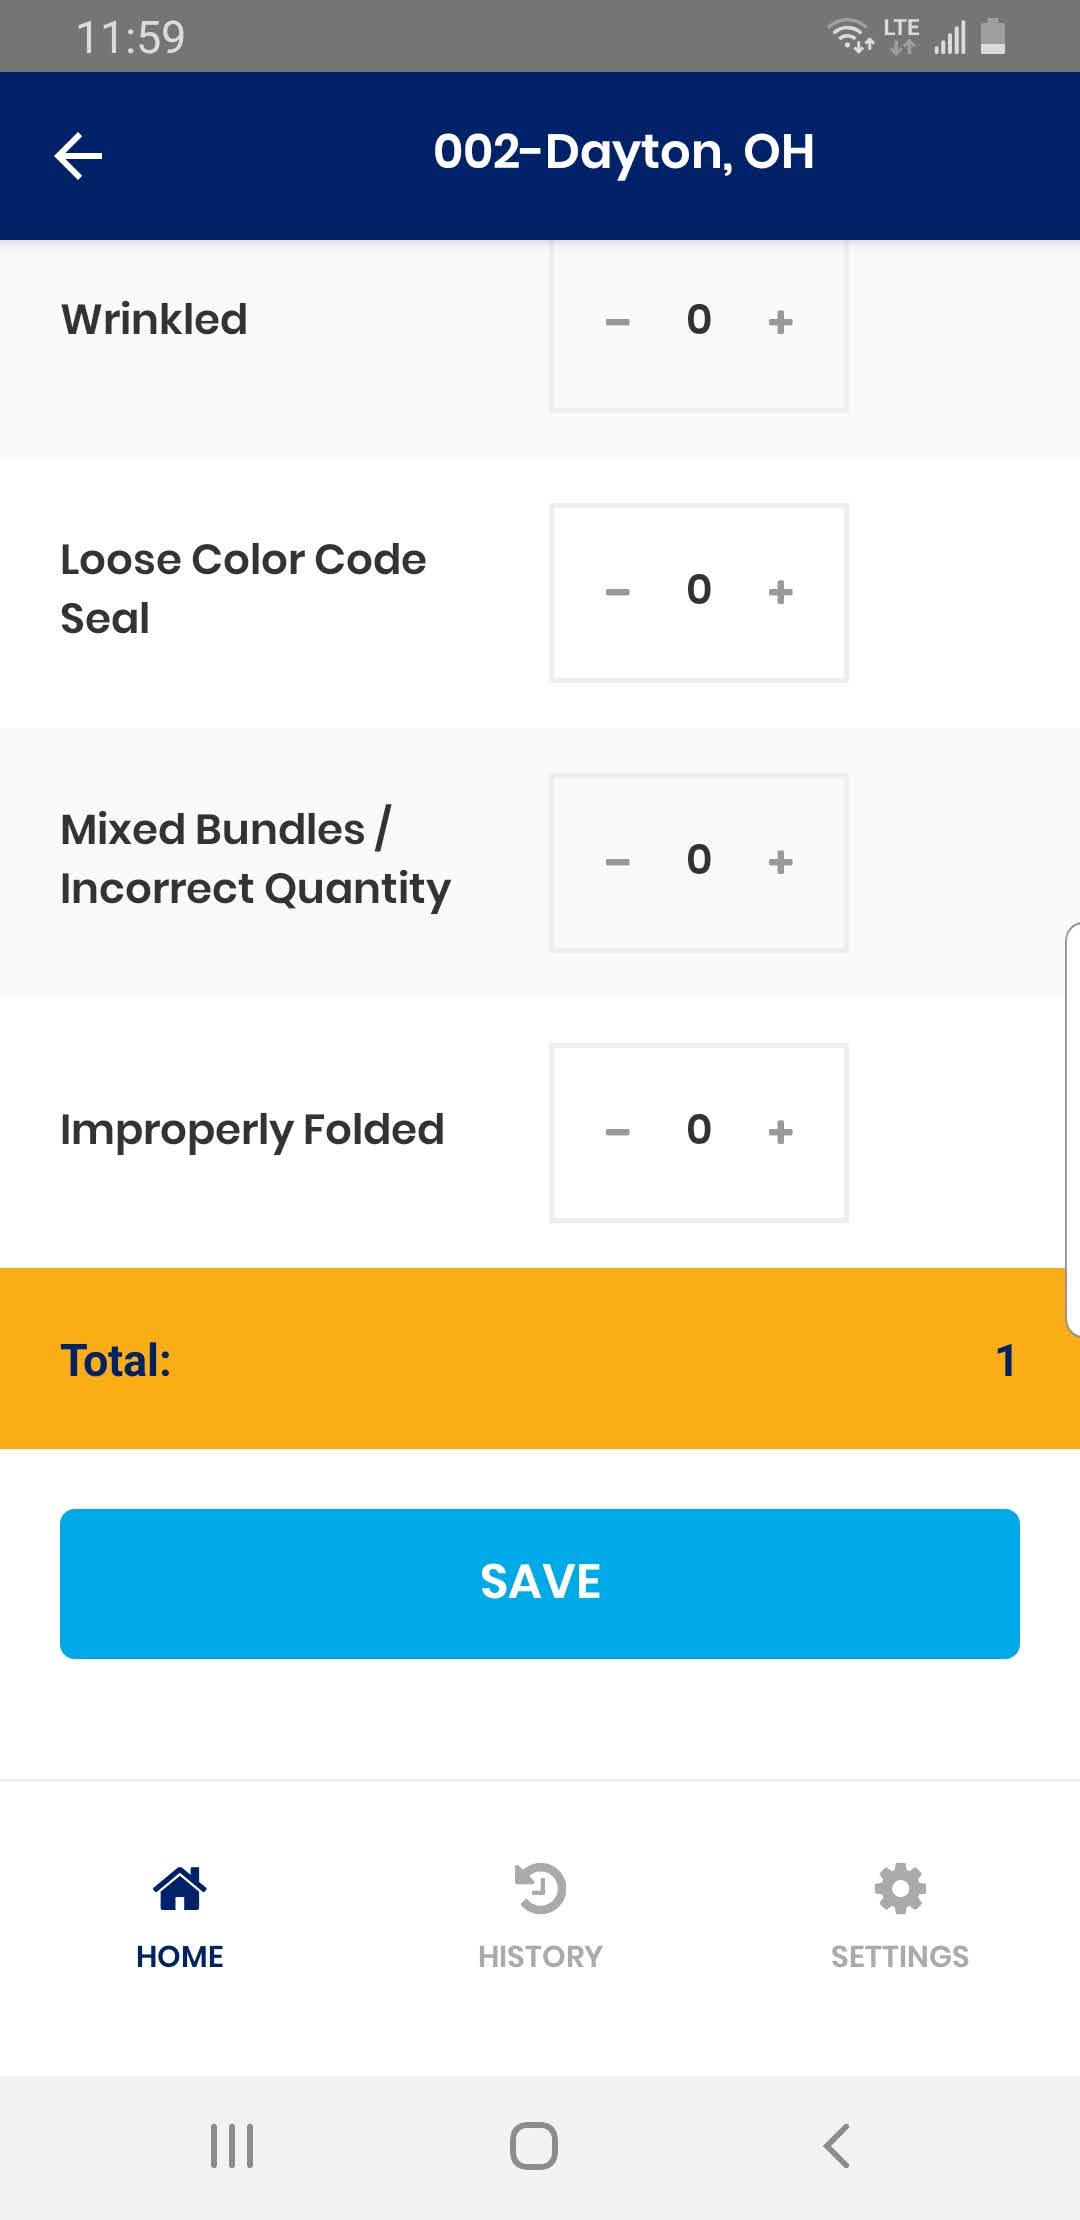
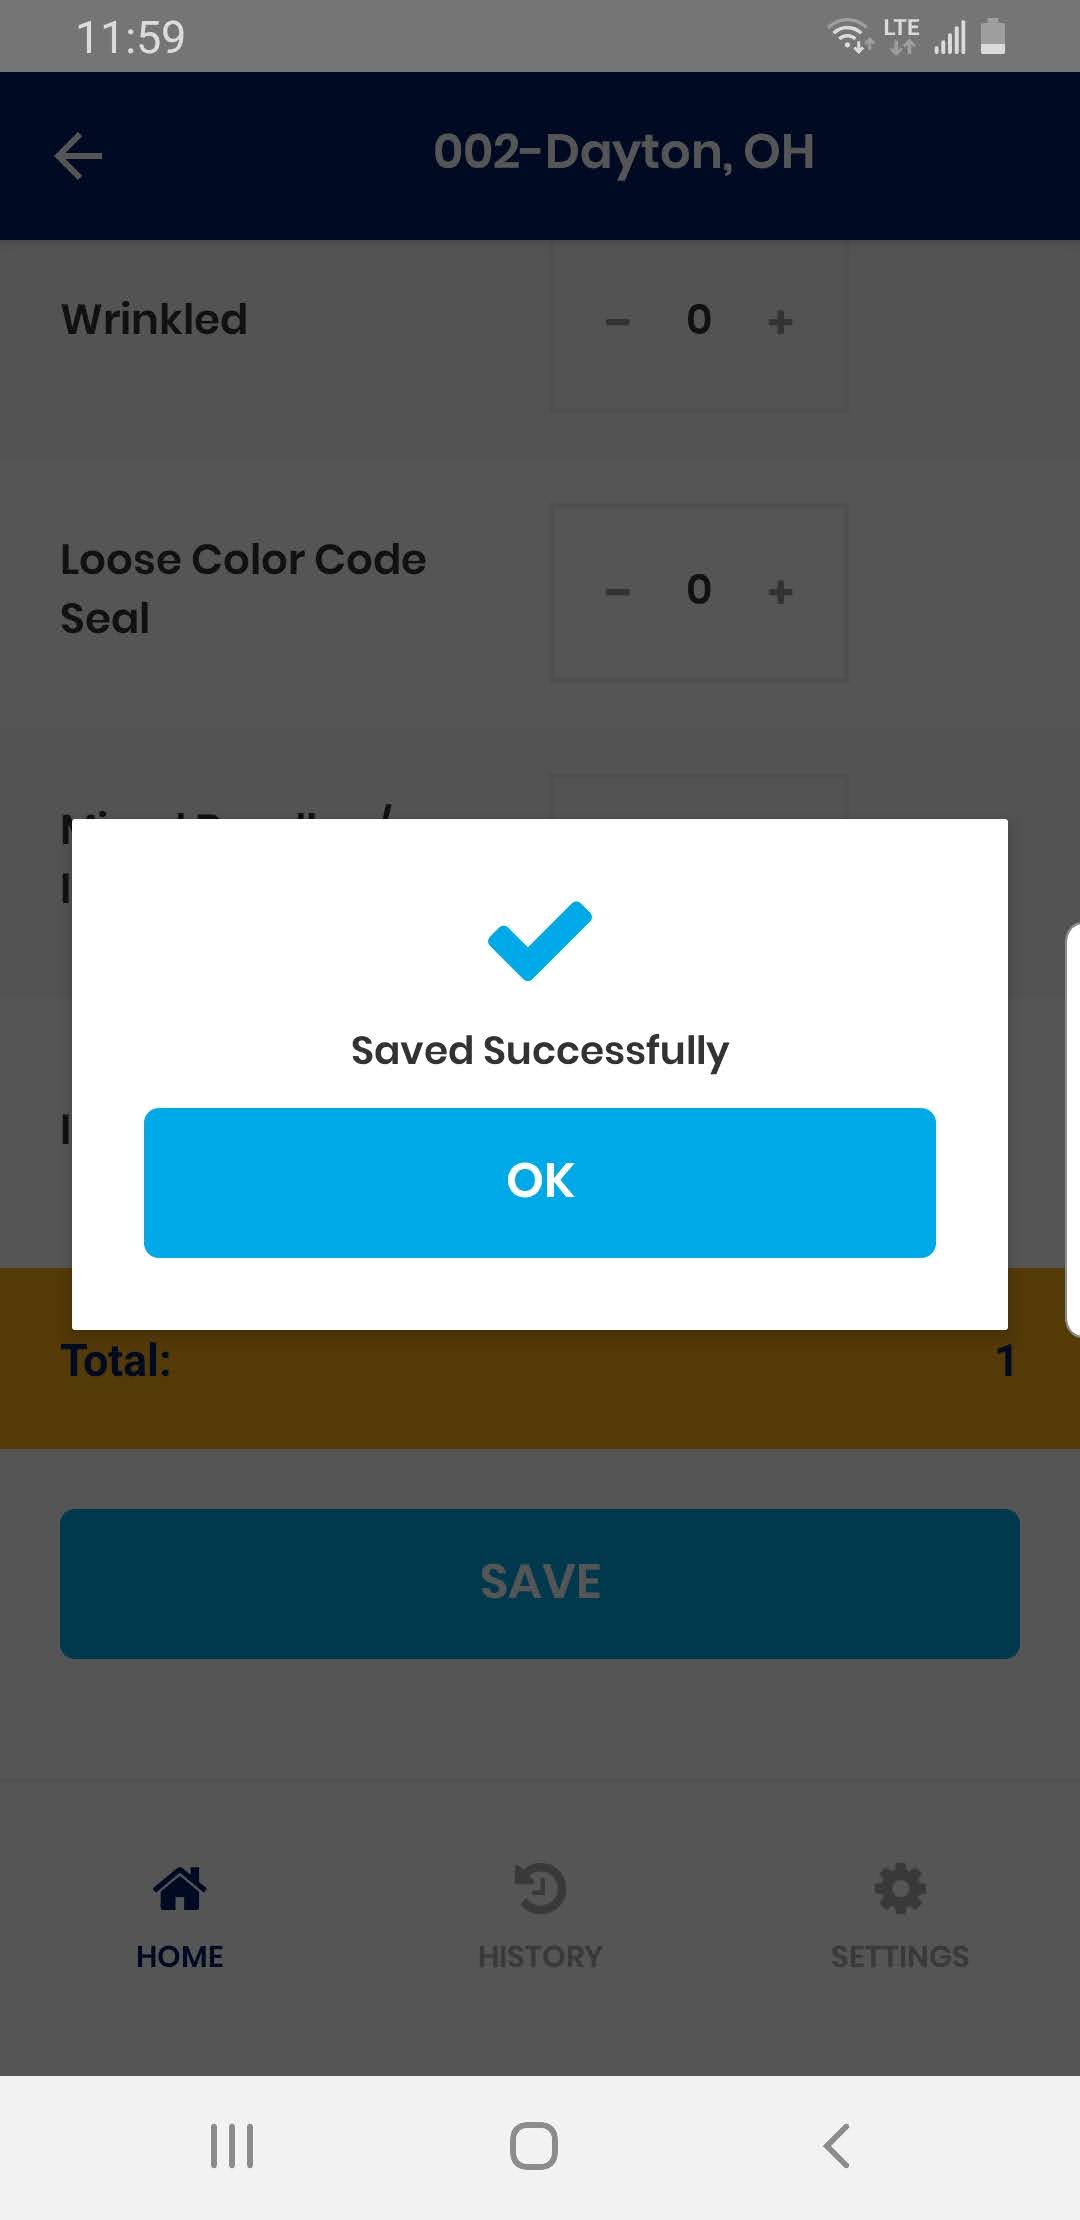
13. Click on the Save to store non-conformance information. “Saved Successfully” message will appear once Save is completed.